Private Files
One use for private files is the ability to share the same file accross many courses. The main advantage to this is that you can update the file in one place and it will update the file in all courses to which you have added it. It does not allow for variations between courses, however.
Sharing Files Between Courses
- Click Dashboard from the navigation bar.
- Turn on Edit mode.
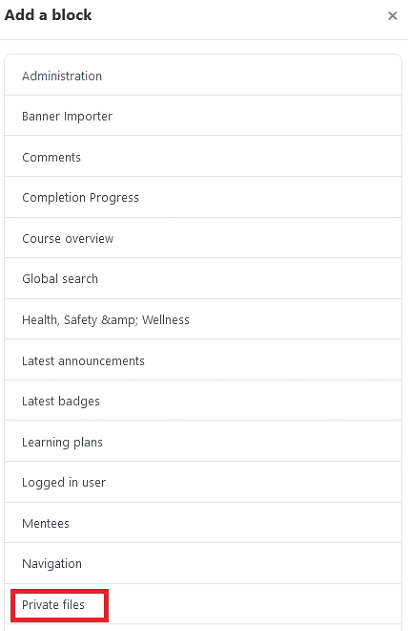
- Click Add a block.

- Click Private files from the resulting menu window.
 A new block named Private files will be added to your Dashboard
 - Click on Manage private files

- upload files to the Private files area.
- Once the files are uploaded, click Save Changes.
- Navigate to the course where you want to include the file.
- Click Add an activity or resource.
- Click File from the Resources list.
- Give the file a name within the settings page and scroll down to the Select files.
- Click on the Add file icon highlighted below.
- Click on the Private files area and select the file you wish to include. Ensure you have selected to Link to the file.
- When it comes time to update the file, return to the Dashboard and select Manage private files... and repeat the previous steps
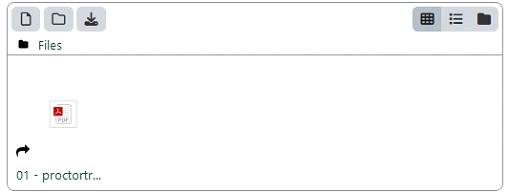
 The link icon associated with the file indicates that it has been linked to other courses. Clicking this link icon will show you the file details, including an overview of where it has been linked.