Setting Things Up
Maybe you need to create a brand new course, a duplicate, or just need a refresher?
UR Courses is the University of Regina’s online learning environment (OLE). It is based on Moodle (moodle.org), an open source, web-based software application used to create and support course websites and online communities of learning. Moodle stands for Modular Object-Oriented Dynamic Learning Environment.
This guide provides basic information about setting up your course site.
Create a course
You can create a course within UR Courses at any time.
If you already have the Teaching role within an existing course, you can follow the process described on our Course Tools page for creating a new course.
If this is your very first course and you do not yet have a Course Registration Number (CRN) associated with your account, or if you are not sure what this means, please contact your Faculty.
If you do have a CRN associated with your account, you can create a new course by accessing the Course Enrolment Form. A link to this form also exists within the Home section of UR Courses.
You can also use the Create a course button, located in the block drawer on the right.


Duplicate a course
If you are the owner of a course within UR Courses, you can duplicate your course at any time. Please keep in mind that if you are not the owner of the course, you will not be able to duplicate it.
If you have developed a course and wish to duplicate it for a subsequent delivery, follow the process described on our Course Tools page for duplicating a course.

My Profile Area
The My Profile Settings is made up of fields to update personal information.
To update a profile
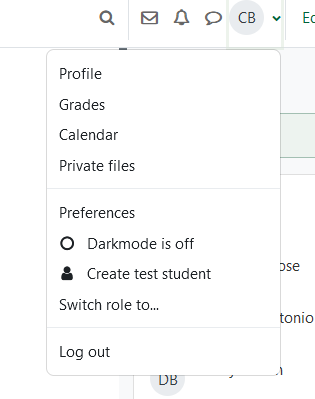
- Click on your name in the upper right hand corner and select Profile.
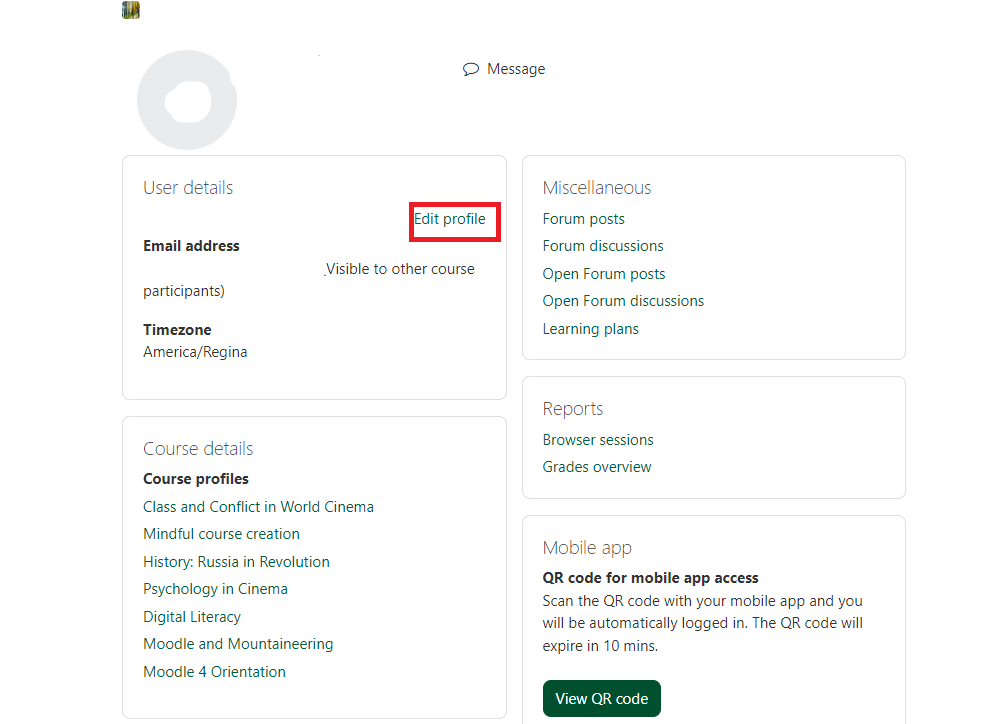
- In User details, click Edit profile.
- Users have the ability to customize their UR Courses profile. The First name, Surname, ID number and Email address fields are protected and cannot be changed. The following fields can be updated:
- Email display – Allows users to show or hide their email address.
- City/town – Users geographical location.
- Select a country – Identify users location by country.
- Timezone – The default is Server timezone (America/Regina).
- Pronunciation – Allows user to record and upload the pronunciation of their name.
- Description – Users can enter text about themselves. This will be visible to anyone that views the profile.
- User Picture – Upload a photo to be used as the profile image.
- Additional names can be entered, such as phonetic spellings of names or alternate names.
- Press Update profile when finishing updating.
Course Administration
There are a number of functions associated with the administration of a course.
You can adjust the name of your course at any time
You can change the availability of your course to students at any time.
The course summary for your course is a way to communicate with students when the course is not available, as the course summary always remains accessible.
You can control access to the course with course roles in order add another instructor or provide access to a teaching assistant.
You can make backups of your course at any time, prior to making large changes, or just for peace of mind.
The course upload file size limit can be increased if you have need to work with larger file sizes.
Organizing your course
There are different formats available within UR Courses.
- Topics
- Weekly
- Collapsed Topics
- Custom Sections
Each format allows you to organize by weeks, organize by topics, or organize by related content (Readings, Assignments, etc.).
Use Labels to differentiate content within the topic sections, or to add description, instruction, images, etc.
Using Subsections allows instructor to create subsection within the topic sections to ensure that their course is will structured and easily accessible for students. These subsections are expandable to help students focus on the separate content.
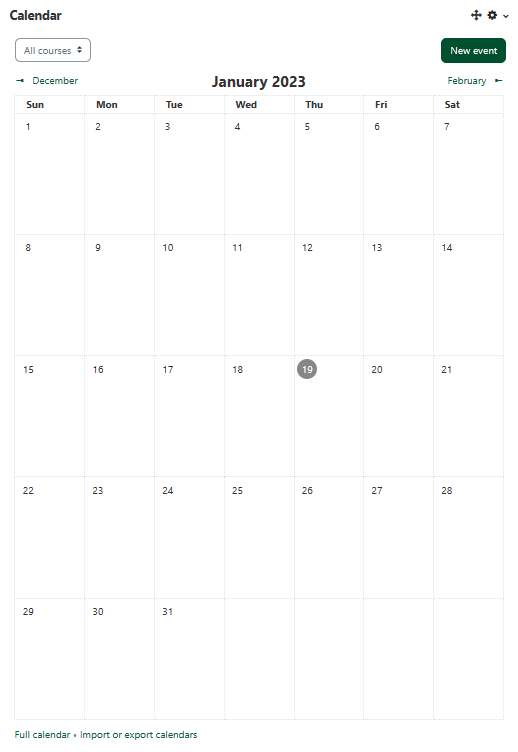
Calendar
The Calendar tool displays Upcoming Events that are Global, Course, Group or User related. Many of the items that appear in the Calendar appear automatically when an assignment or other activity that is date sensitive is created. The calendar events are color coded by category. Manual entries can also be added.
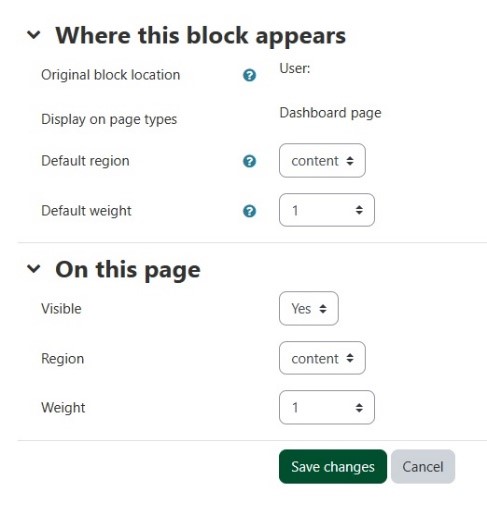
Set Preferences
To set Calendar Preferences:
- Go to the Calendar block.
- From the Calendar Tools menu, select Configure Calendar block.
- Change settings as desired.
- Select Save changes.
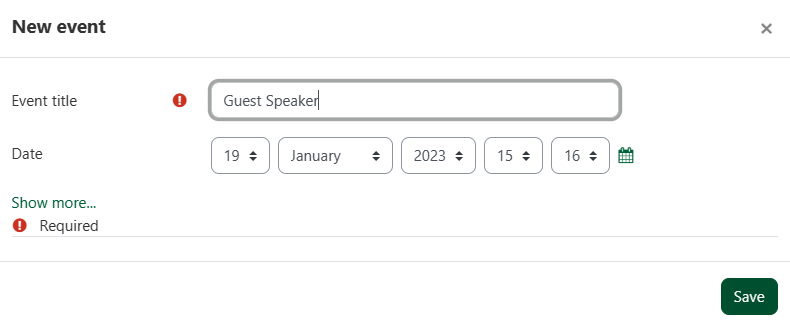
Add New Event
To add an Event
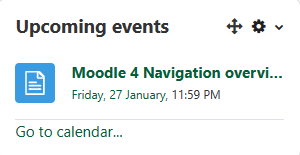
- In Upcoming Events, select the Go to calendar… link.
- Select New event.
- Enter the Event title and dates.
- Press Save.
Change View
To change the calendar view:
- In Upcoming Events, select the Go to calendar… link.
- In the Events key block, click any calendar to either show or hide events within those calendars.

Microsoft 365 block

Convenient access to Microsoft 365 services
The Microsoft 365 block provides:
access links to Microsoft Outlook and OneDrive from within UR Courses
a OneNote Notebook with pages for each of the courses you are enrolled in
a function to sync your Outlook and Calendar events from within UR Courses
access to import files from Microsoft OneDrive through the File repository
To add the Microsoft 365 block to your dashboard, watch a brief video or follow the steps outlined below.
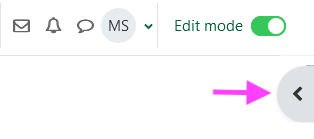
Add and connect the Microsoft 365 block
-
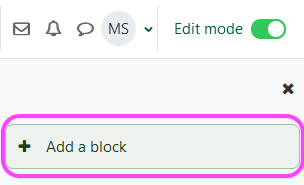
Turn on Edit mode.

-
Click on the Open Block Drawer tab.
-
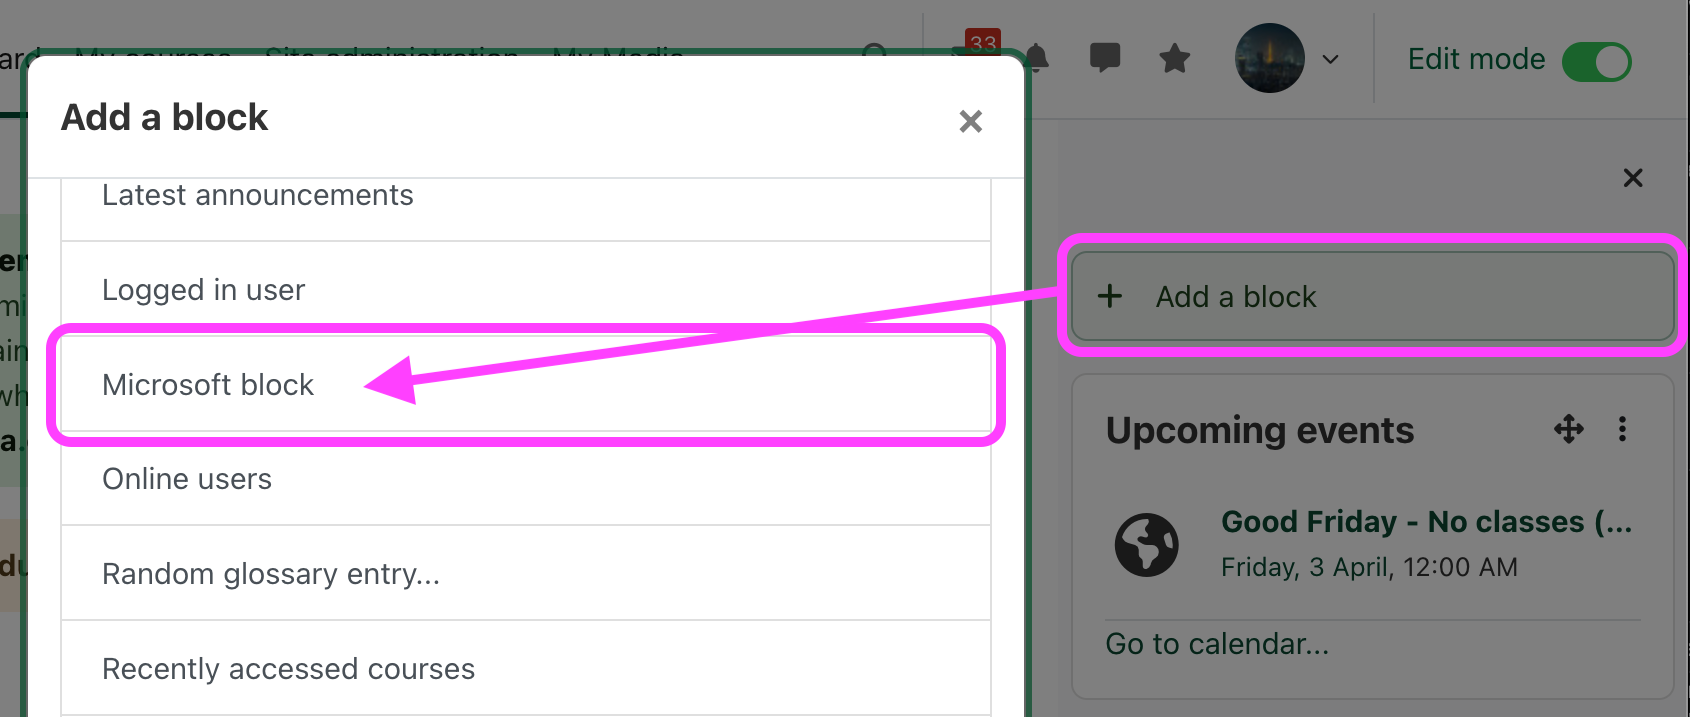
Select the Add a block option in the block menu.
-
Select the Microsoft block. By default the block will appear at the bottom of the blocks drawer.
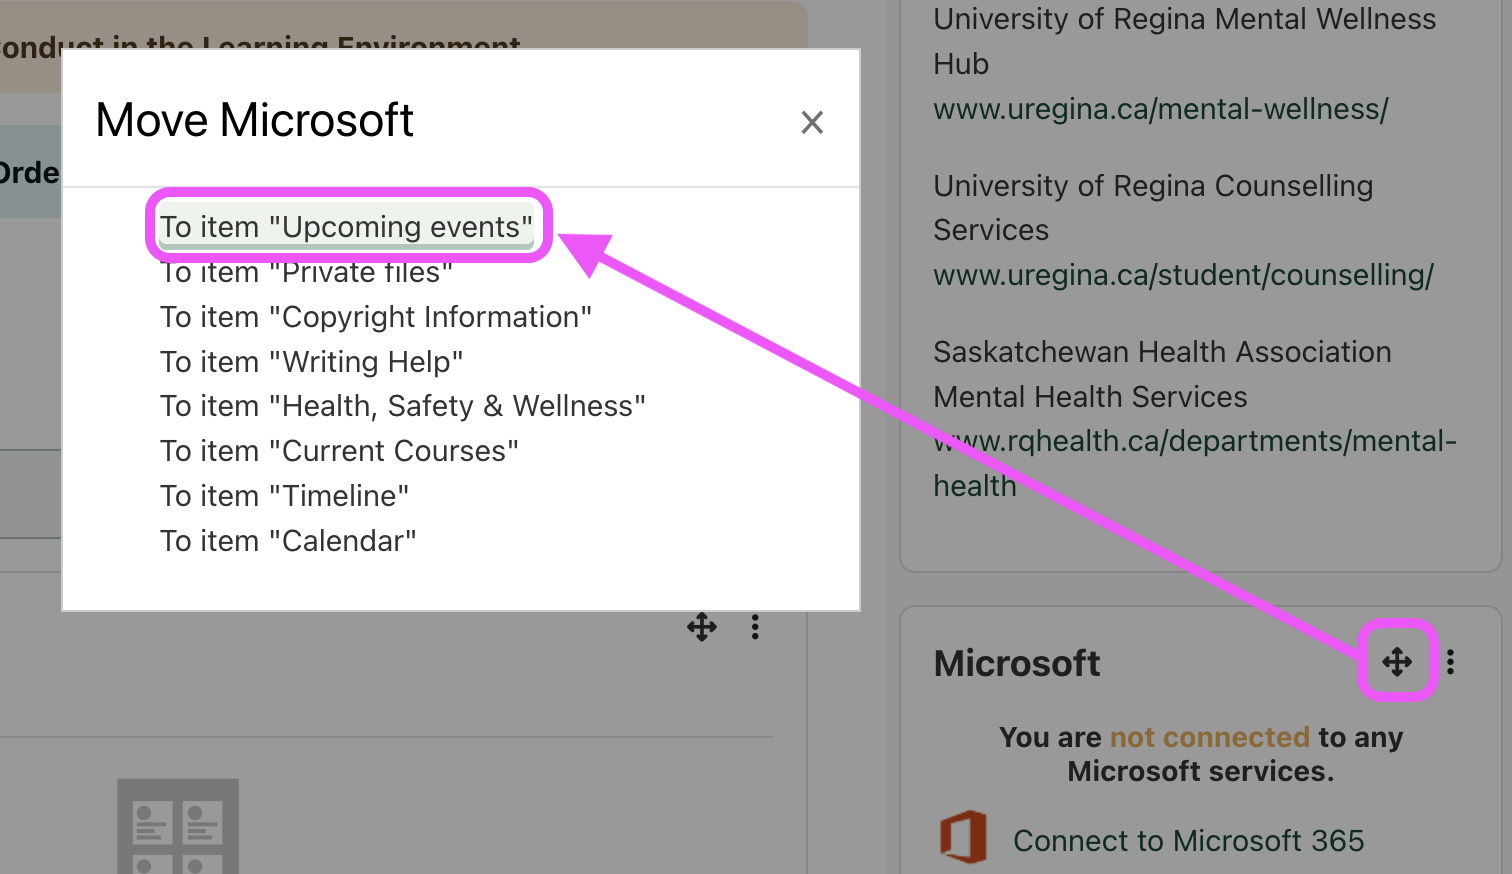
- Re-position the block by dragging or using the move links to move the block to the desired location.
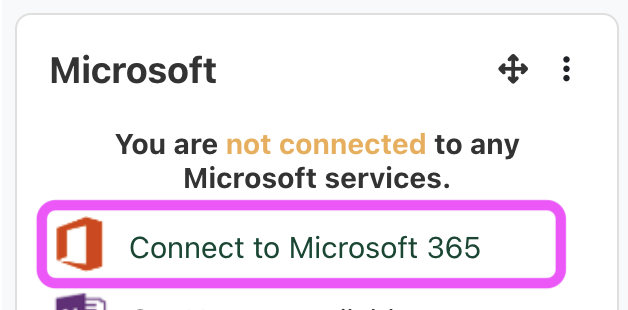
- Click on the Connect to Microsoft 365 link within the Microsoft block.
- Click on Microsoft 365 connections settings or Manage Connection.
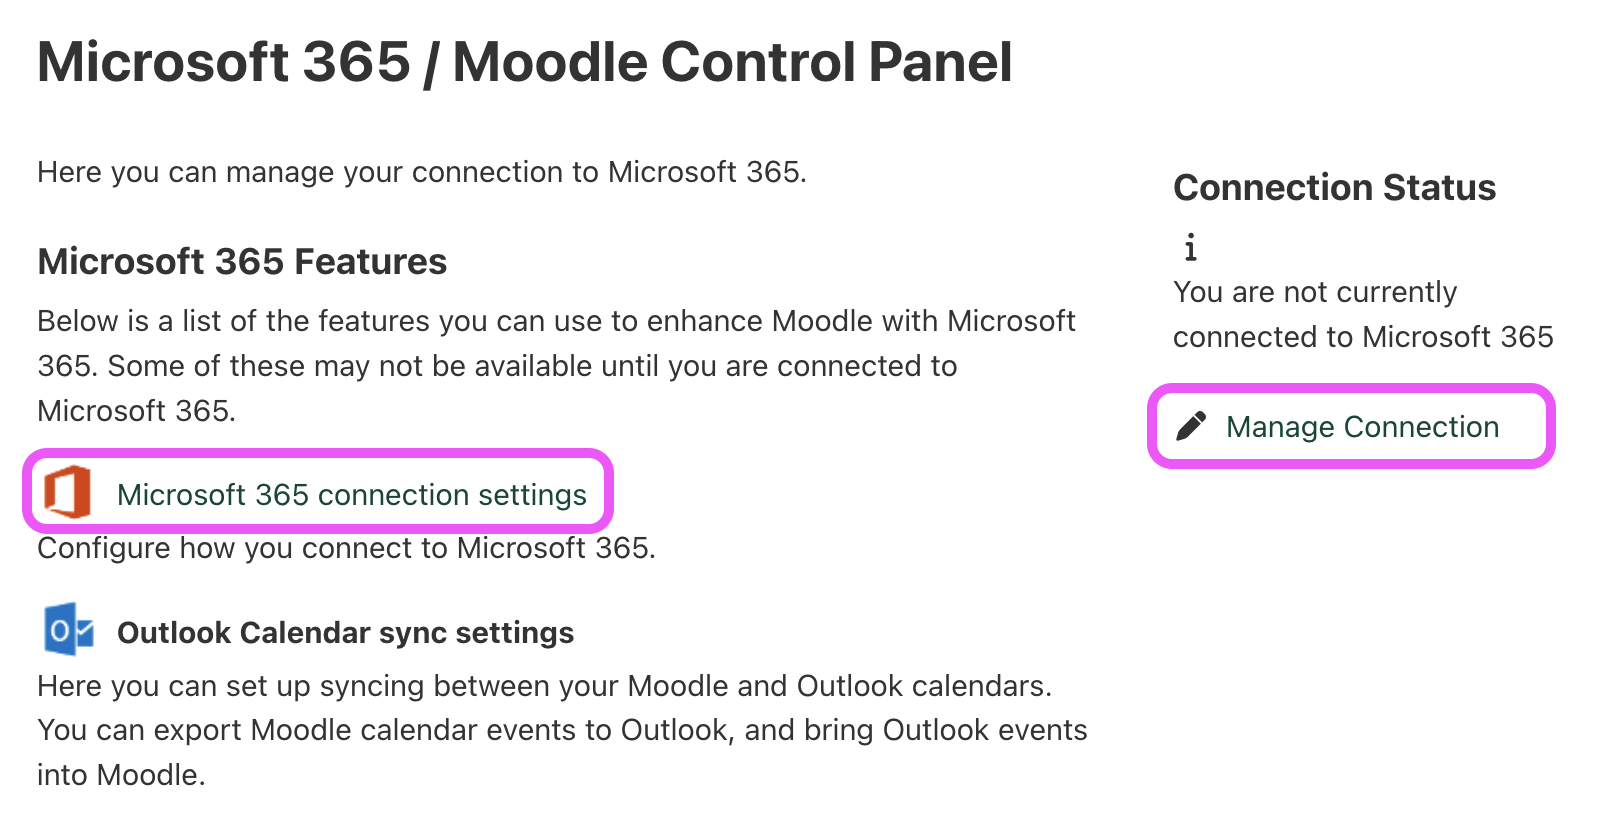
- Click the Link your Moodle account to a Microsoft 365 account link at the bottom of the page.
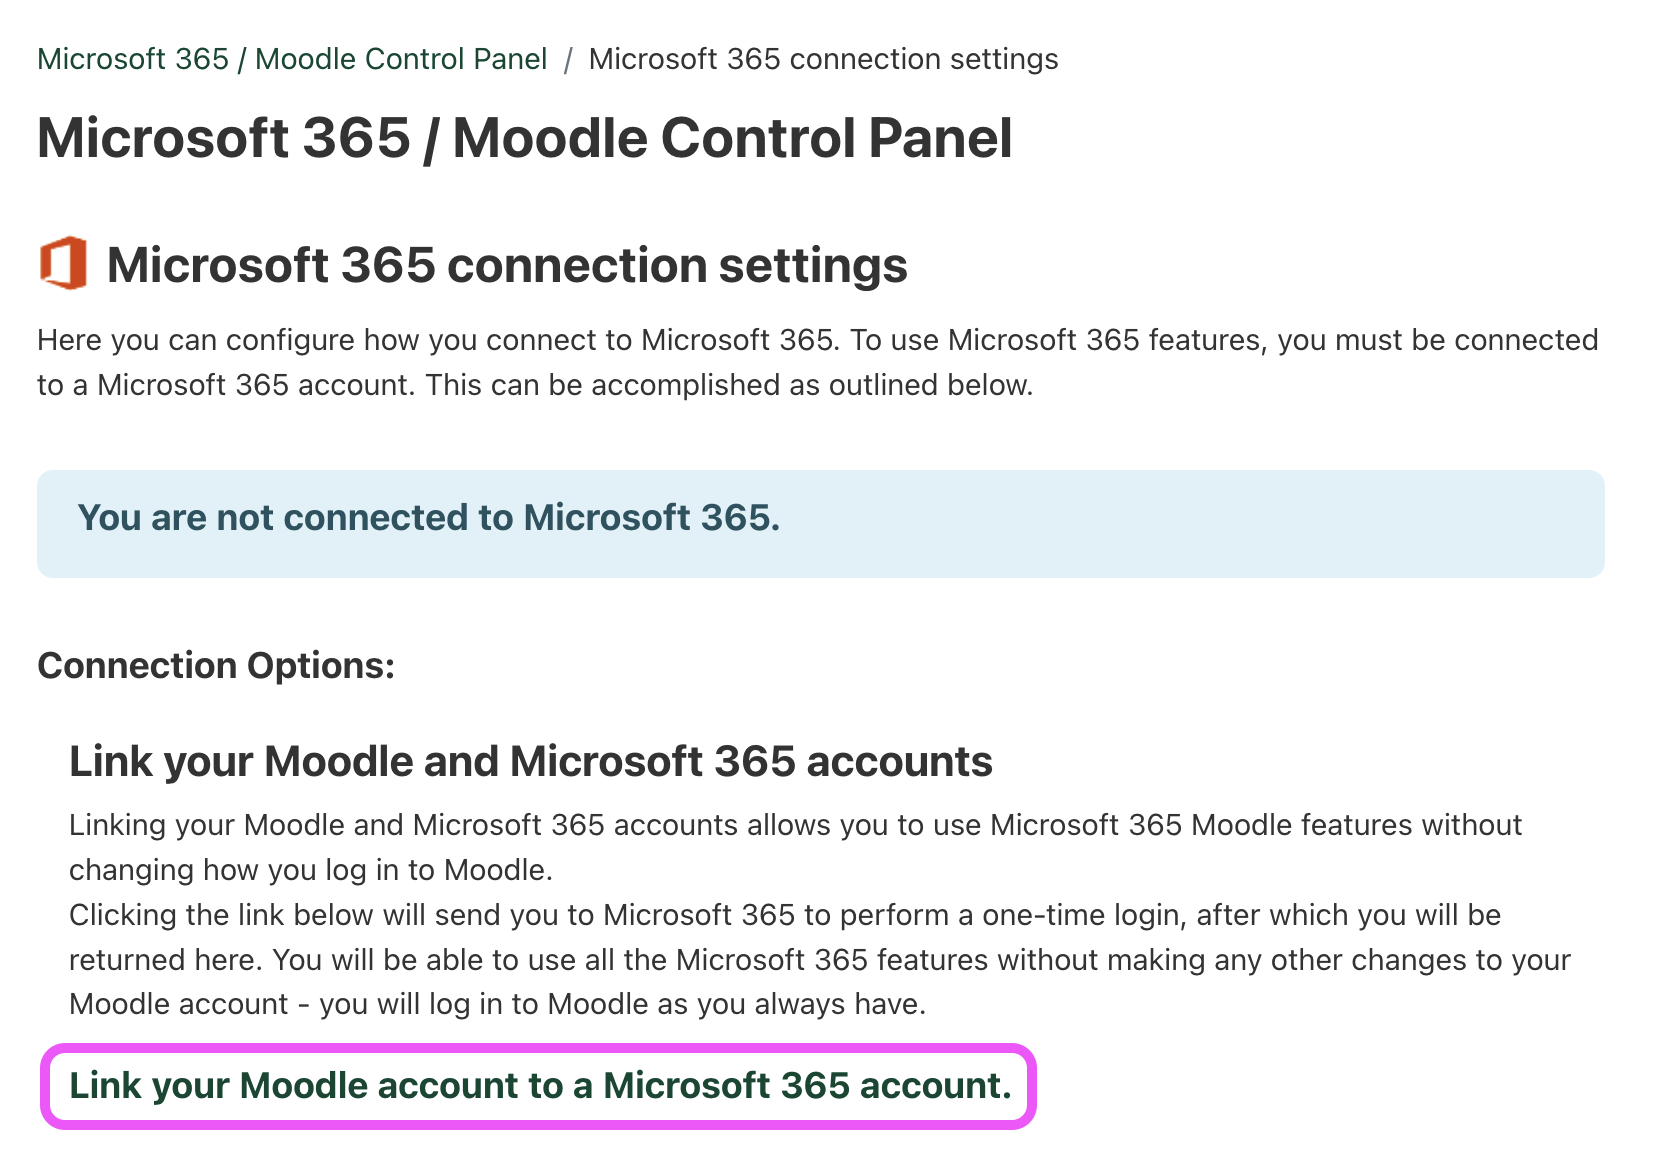
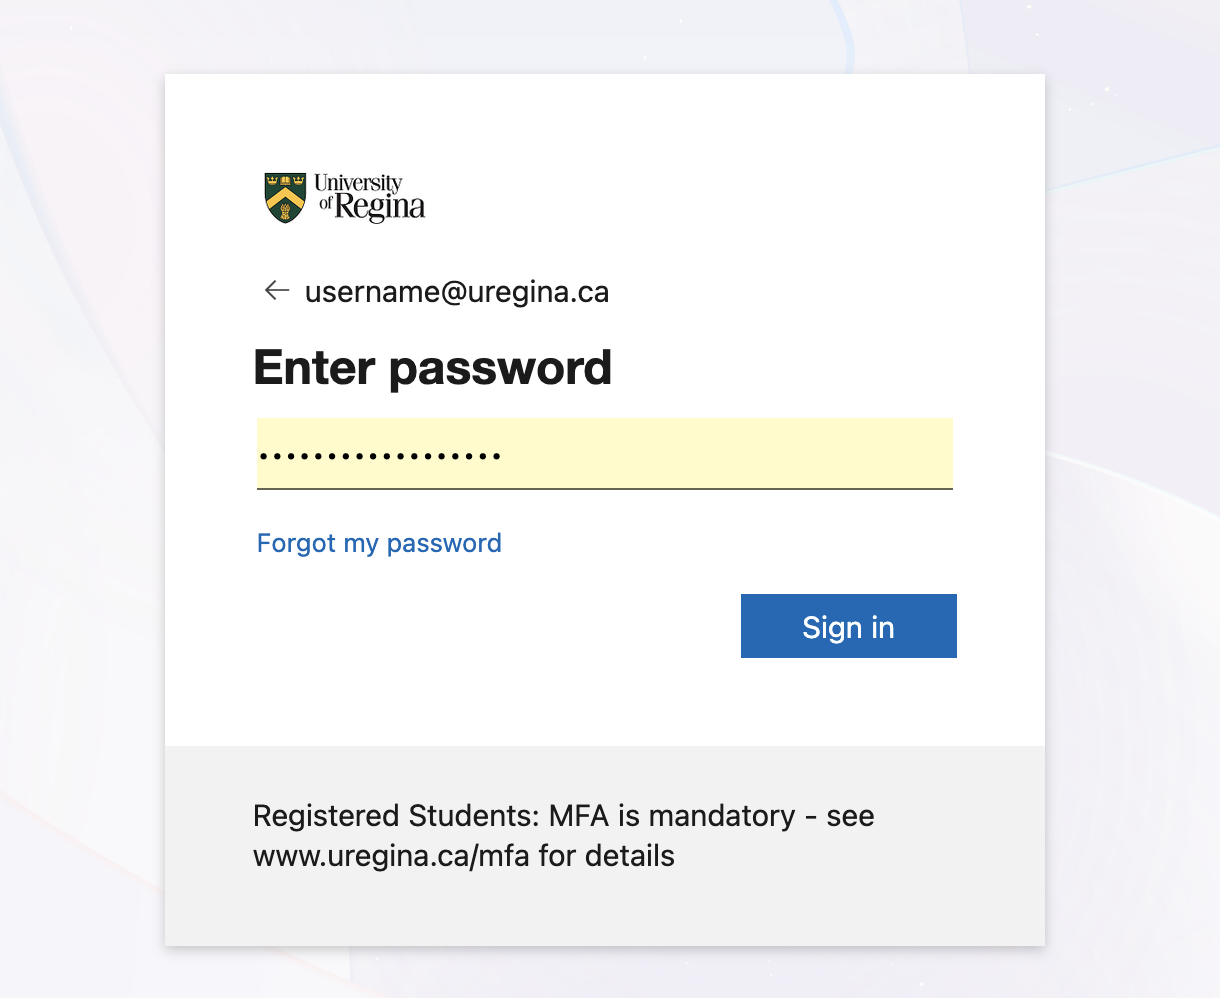
- If you are not already authenticated with Microsft 365 in your web browser, you will be prompted to enter your Microsoft 365 credentials.
- You should be returned to the Microsoft 365 / Moodle Control Panel page where the connection status is displayed.
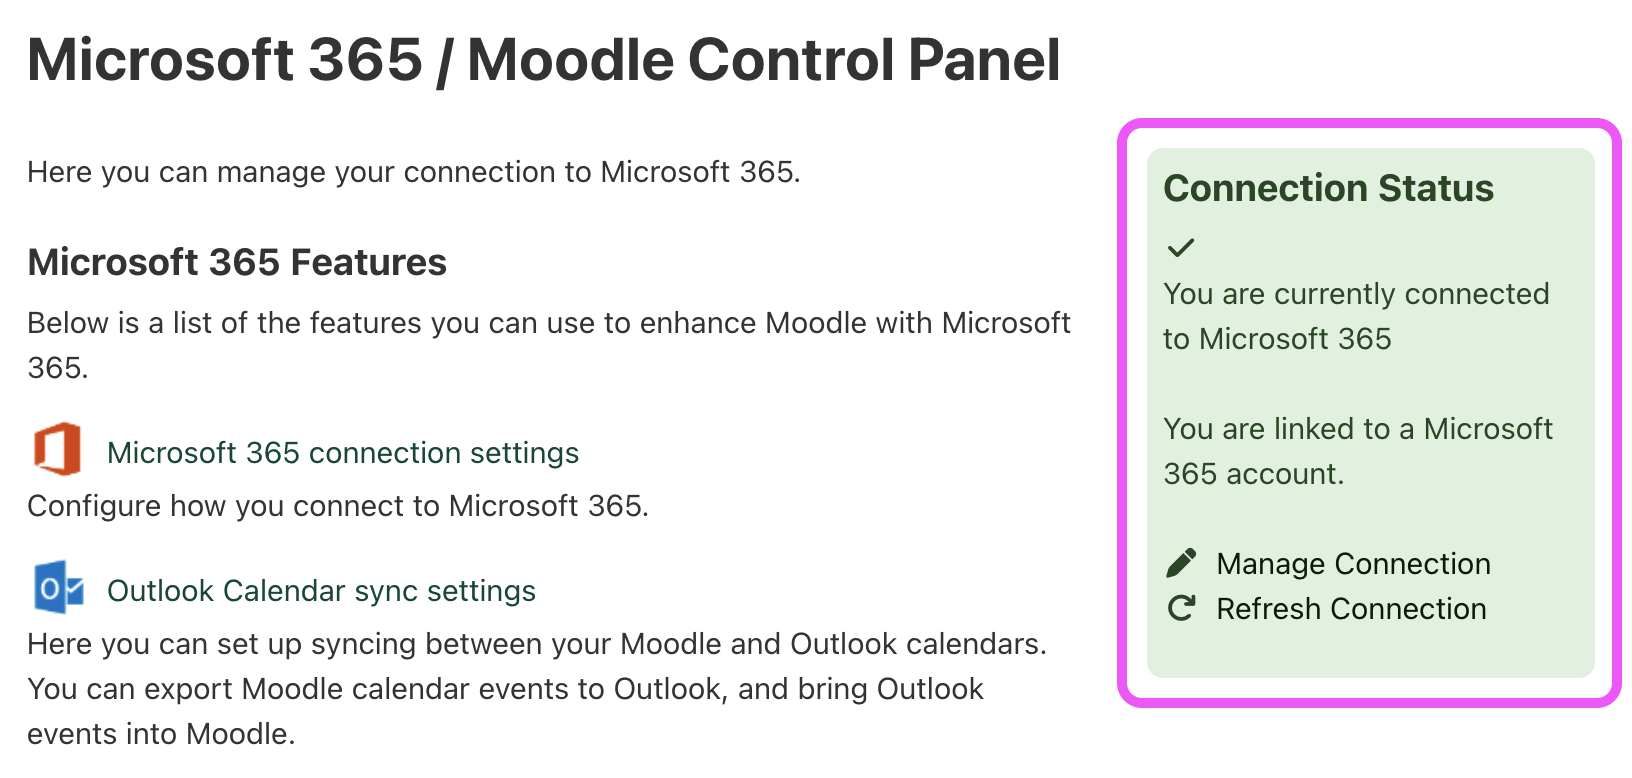
- Return to the dashboard for an overview of the Microsoft 365 features now available.
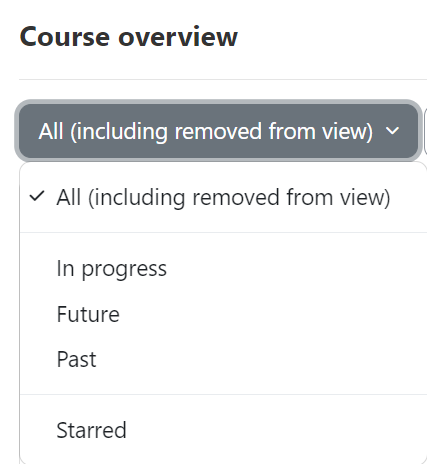
Starred Courses
The Course Overview allows for the users to Star their courses to ensure that you can easily filter.
To Star a Course
- Click the 3 dots beside the course
- Click Start this course
To Filter by Starred Courses
- Click the drop down menu below Course Overview
- Select Starred
 Additionally, starred courses can easily be accessed by the top navigation bar.
