Assignments
The Assignment activity allows instructors to create assignments so students can submit their work digitally. Instructors can create assignments within Moodle courses, setting details such as the assignment name, description, due date, and maximum grade. Students can submit their work directly through Moodle, by either uploading files, typing directly into a text editor, or submitting multimedia content. After the submission deadline, instructors can review and grade the submitted assignments within Moodle. They can provide feedback, assign grades, and annotate directly on submitted files. Once graded, students can access their feedback and grades within Moodle.
How To Use Assignment
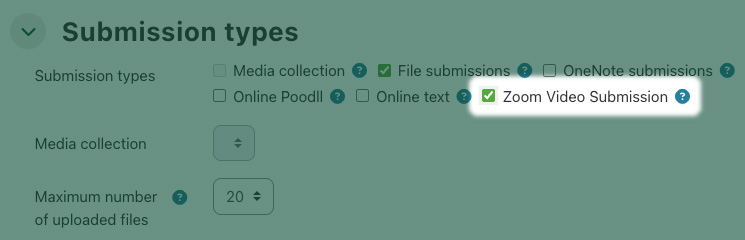
Zoom Video Submission
UR Courses now includes a new Zoom video submission option for the regular Assignment activity. When this option is enabled, students can select and submit a Clip from their Zoom library. A copy of the selected Clip is then downloaded by the server and saved within UR Courses.
Students will not have to download the clip in order to submit it. UR Courses will download the copy as part of the submission process.
Other file types are also allowed as part of this submission. In this way it is possible for students to upload documents in addition to their Zoom video.
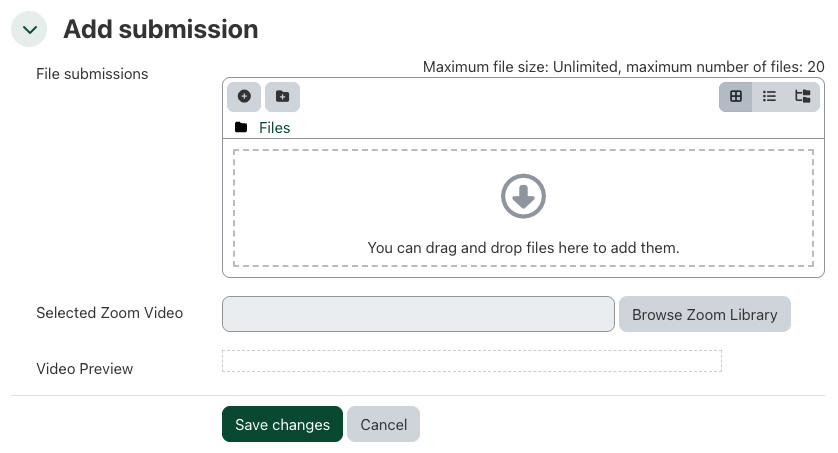
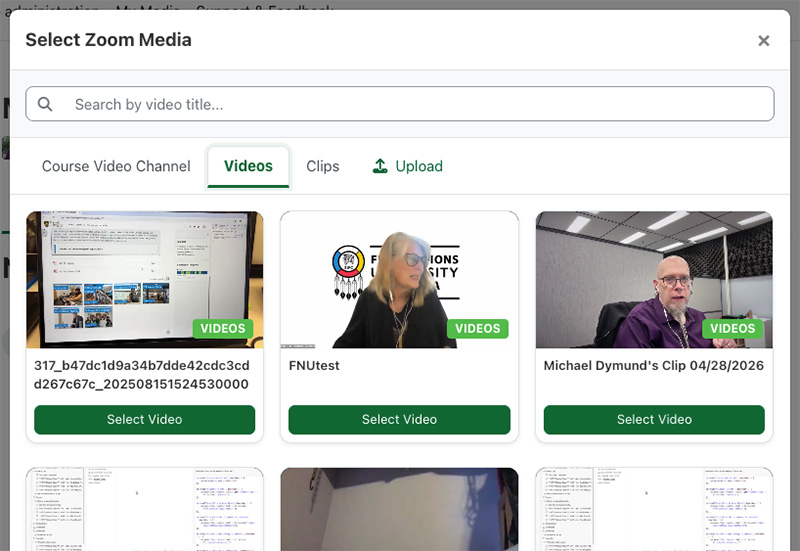
Clicking Browse Zoom Library opens the Select Zoom Video window (as above), allowing the student to select the appropriate video for submission.
The form will update to include a preview of the video. When the student clicks Save changes the Zoom video is uploaded to UR Courses and the submission is complete.
Moodle Assignment Documentation
See Moodle Docs to learn more about Assignment settings and how to use them:
- General
- Availability
- Submission Types
- Feedback Types
- Submission Settings
- Groups Submission Settings
- Notifications
- Grade
- Marking Workflow
- Other Settings
- Assignment Capabilities
- Site Administration Settings