 Kaltura integration
Within UR Courses, Kaltura can be used to host uploaded video, media submission assignments, and more.
Benefits of this integration include:
Uploads can be much larger than the UR Courses upload limits
Videos are transcoded to be playable on all devices, and are optimized to match a variety of network speeds
The Kaltura Premium integration is available to all instructors and students as of the Winter 2021 term.
The following are brief descriptions of the components available within our Kaltura integration, with embedded links to further information.
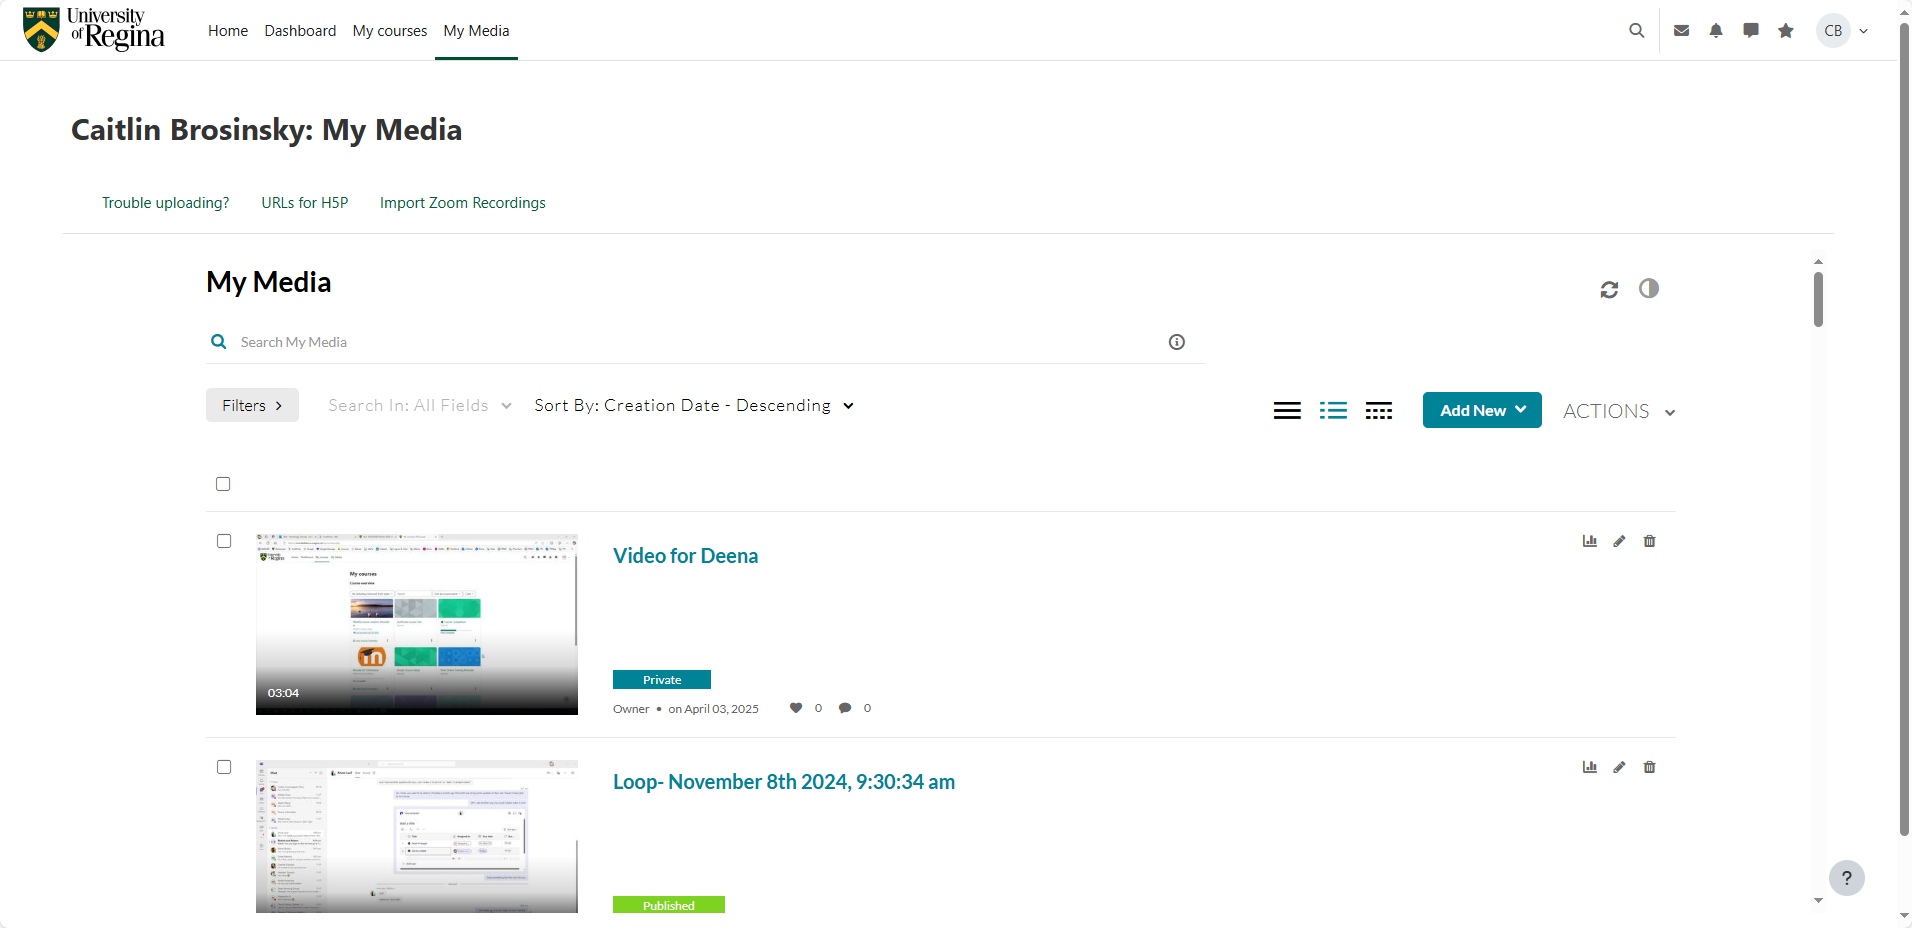
The My Media page is a central location that allows you to upload, preview, and share media assets within your courses.
There are a variety of methods for uploading media to Kaltura from within UR Courses. One of the simplest is to go directly to My Media to upload your media, and then to the course where you would like to embed it.
The Assignment (Media) Activity allows you to make media submissions.
Embedding media elsewhere in the course is possible through the HTML editor toolbar. This allows for more advanced uses such as embedding media into forums and other areas of your course.
My Media
The My Media page available in UR Courses can be accessed from within the Navigation menu.
Media that has been uploaded to your My Media page will be available elsewhere where video submissions or media selection are required.
The My Media page allows you to preview, edit, and share your media assets with other courses.
Accessing the My Media page will list all media hosted on Kaltura that has been associated with your UR Courses account.
Uploading Media
Upload media to Kaltura by following the steps outlined below.
Navigate to My Media using the link in the Navigation menu.
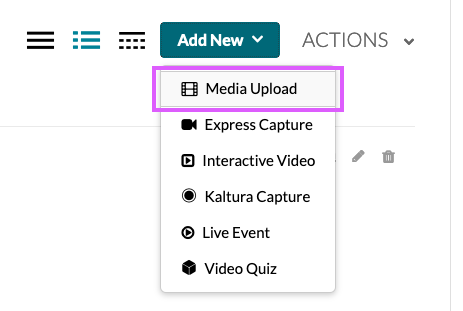
On the My Media main page, click Add New and select Media Upload.
On the Media Upload page, click Choose a file or Browse, and select the file you wish to upload.
Review or update the Name that has been generated based on your uploaded filename. Add tags, and a description if desired.
Complete all of the required metadata fields within the shared repository so that the entry is available for publishing.
Once ready, click the Save button at the bottom of the form to complete the process.
On the My Media page, new entries will show that they are converting. This is the process where alternate versions are created for slower bandwidth and smaller devices. This process varies in length depending on the size and quality of the original file.
Having trouble uploading?
This alternate upload option should help with low bandwidth internet connections. It is intended to improve performance for users with upload speeds that are less than 3 mbps.
Note: We recommend uploading only one file at a time for slower connections.
If you continue to experience problems uploading media, please contact Service.Desk@uregina.ca.
Trouble Uploading Option
If your uploads are taking too long or timing out, you can try uploading with the Trouble Uploading alternative within My Media.
- Navigate to My Media using the link in the Navigation menu.
- On the My Media main page, click Trouble Uploading? button.
- On the Media Upload page, you can drag and drop a file or click the CHOOSE A FILE TO UPLOAD button. We recommend uploading only one file at a time for slower connections.
Note: The upload process will begin once you have dropped or selected a file to upload.
if the uploader is running correctly you should see the status and progress of your upload.
Uploading status and progress display view:
- Once the Upload has been completed it should show the status log as completed, without any errors as shown in the image below.
Advanced options
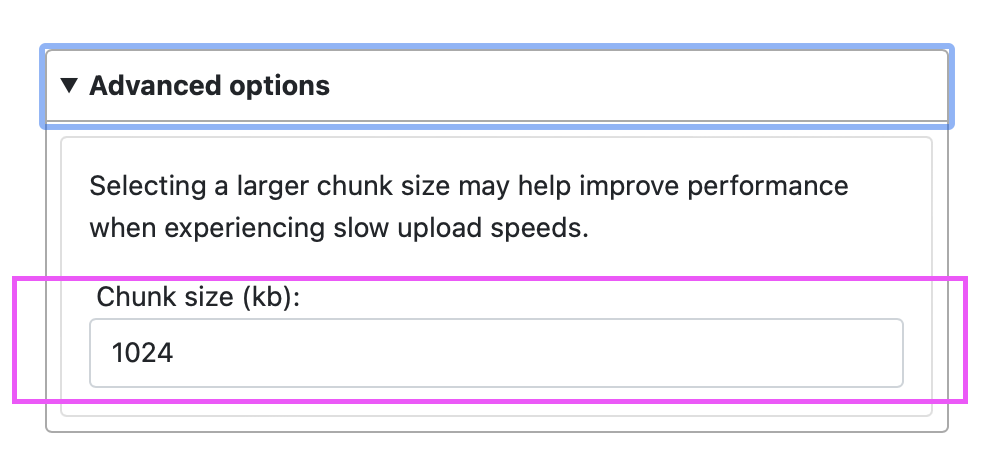
- You can toggle the Advanced options panel to choose the chunk size(kb) of the file that will be uploaded.
Tip: We recommend to start at 1024 chunk size(kb) or higher if you adjust this setting.
Media Assignment
The Assignment (Media) activity allows you to upload recorded media or create a recording.
To make a submission for an Assignment (Media) activity within your course, follow the steps outlined below.
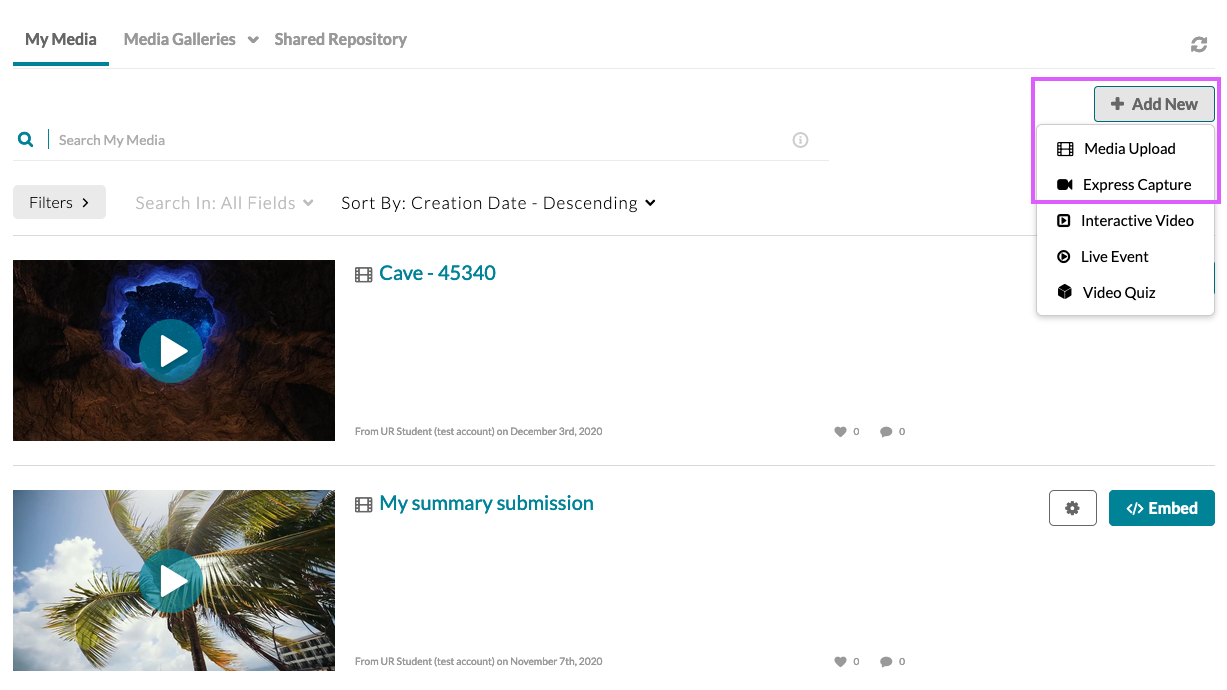
Navigate to your assignment and click Add media submission. This will open a pop-up window displaying your My Media area.
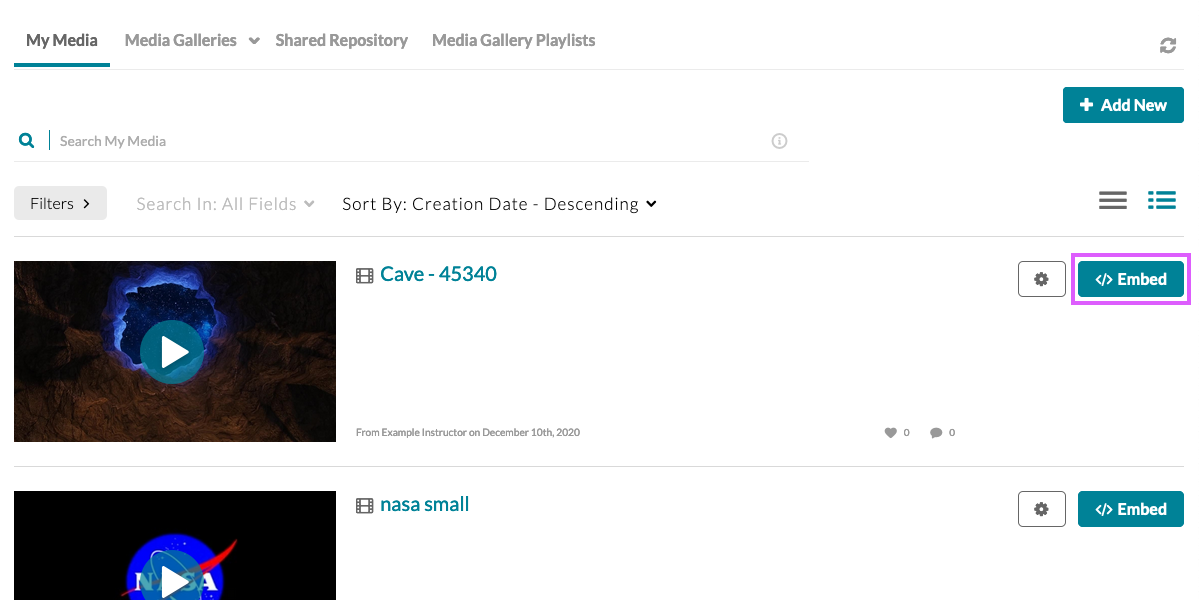
To add an existing recording that you have not yet uploaded, click Add new and select Media Upload. If you have not yet made a recording, you can do so with the Express Capture option. Once your media has been uploaded, select Embed.
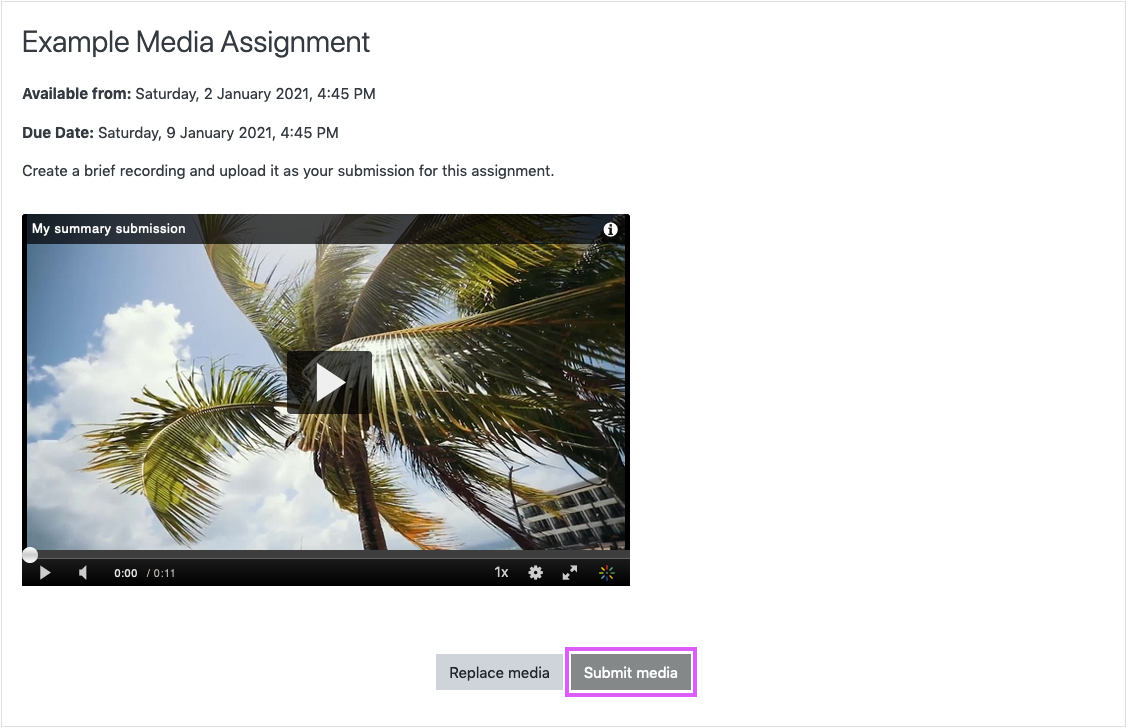
The selected media should now appear in a player. Click Submit media to complete your submission.
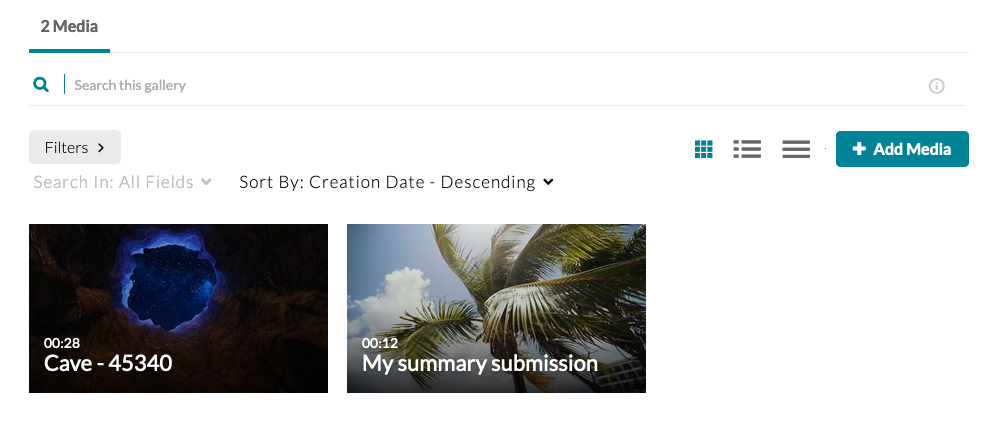
Course Media Gallery
The course Media Gallery can be a place for students and instructors to share media.
Media that has been shared with the course media gallery can be viewed by everyone enrolled in the course.
To view the course media gallery if your instructor has added to the course, it is located in the right-hand block section.
To publish media within your course, follow the steps outlined below.
Navigate to the Media Gallery for your course and click Add media.

-
This will open a listing of the media available in your My Media area.
To add an existing recording that you have not yet uploaded, click Add new and select Media Upload. If you have not yet made a recording, you can do so with the Express Capture option.

Once your media has been uploaded, select the checkbox beside each item you wish to include in the gallery and choose Publish.
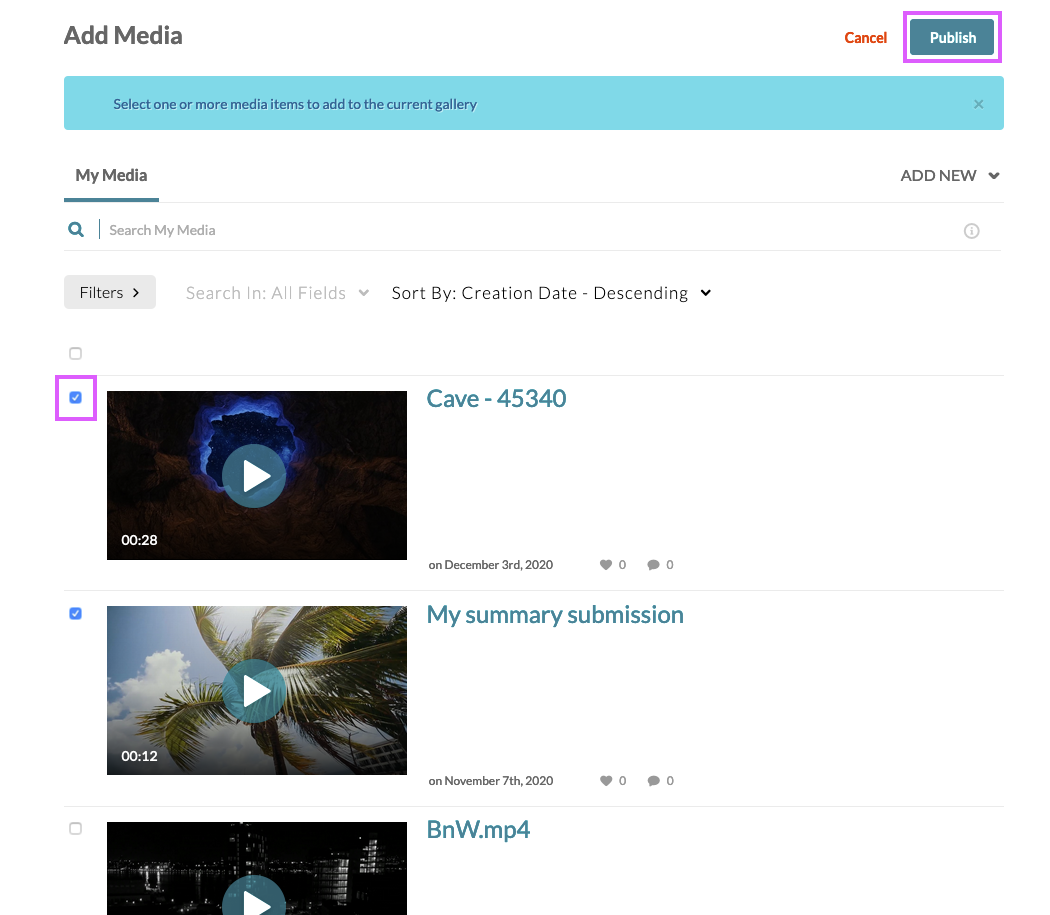
The selected media will now be viewable by everyone enrolled in the course.
Embedding media
There may be times when you want to embed media within Forums or elsewhere within the course. You can access media you have already uploaded through My Media, upload new media, or create an Express Capture recording, by following the steps as outlined below.
Insert media with the toolbar
-
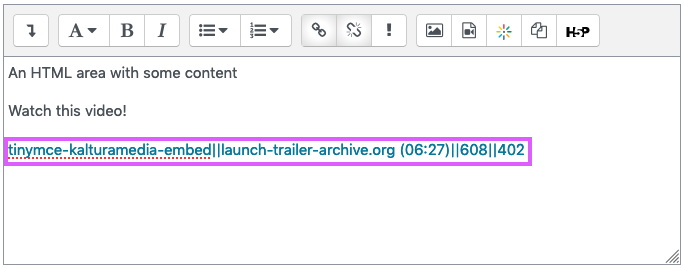
When editing content where you would like to embed the media file, click the Insert Video button on the editor toolbar.
-
A pop-up window will appear that allows you to select from media within your My Media library. You can also upload or record new media by selecting from the options within the Add New menu.
Once you have selected your media resource, click Embed.
-
A link to the media will now have been inserted into the content area. Save your changes.
-
When viewed as content, the link should become automatically replaced by an embedded player, as illustrated below.
-
If an embedded player does not appear, you will need to contact your instructor to ensure that the Kaltura filter has been enabled within the activity, or course.
About Kaltura
Kaltura is the primary video streaming service used at the University of Regina. The servers and data are hosted by the vendor (Kaltura) in the Amazon Canadian cloud.
The Kaltura platform enables video streaming, management, publishing, and syndication, as well as providing a robust framework for managing rich-media applications, and developing a variety of online workflows for video.
For additional information about Kaltura and MediaSpace, please refer to the Kaltura MediaSpace documentation provided by Information Services.
Flexible Learning and Information Services continue to work together to support the integration of Kaltura with UR Courses in order to enhance our media delivery and archiving practices.
