Blocks
Blocks can be useful to add to a course for a number of reasons. Some blocks provide information and access to data that only instructors can view, while others are more useful utilities for your students. They are easy to add and offer a wide range of features.
Each course homepage generally contains blocks on the right with the centre column containing the course content. Blocks may be added, hidden, deleted and moved up/down and left/right when edit mode is turned on. There are many different types of blocks in a course that can be used by course authors. Some blocks will require that the corresponding activity has first been created (ex. Attendance).
Adding a block
To add a block to your course, follow the steps outlined below.
-
Turn on the Edit mode.
-
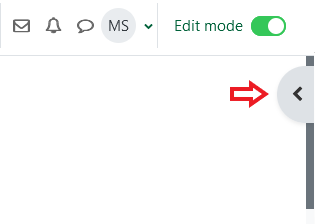
Click on Open Block Drawer option.

-
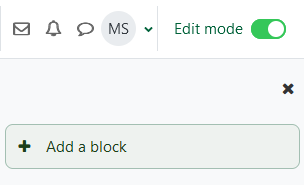
Select Add a block option in this menu.

-
Select the type of block and configure as necessary.
-
Re-position the block by dragging or using the move links to move the block to the desired location.
Deleting a block
To delete a block to your course, follow the steps outlined below.
- Turn on the Edit mode.
- Locate the block in the block drawer and click on the cogwheel.
- Click Delete and confirm that you want to delete.