Zoom Video Management
Zoom Video Management makes it possible to add video to your course using software supported by Information Services at the University of Regina.
With the start of Spring/Summer 2026 term, Zoom Video Management is replacing Kaltura for video content in UR Courses. This change supports a more streamlined and consistent approach to managing instructional video by consolidating with a familiar platform already used for teaching and learning.
A University of Regina Zoom account is required to create, share, and view Zoom videos through UR Courses.
What you can do with Zoom Video Management:
- Use a centralized library to create, view, and manage University of Regina-wide video content
- Access Video Management from within UR Courses, the Zoom web portal, or from within the Zoom app (via the Videos tab)
- View statistics about the videos in your course
If you haven't done so already, visit uregina-ca.zoom.us/signup to create a free Zoom account using your @uregina.ca email address. Be sure to download the Zoom application as well. Zoom is supported on desktop, tablet, and mobile devices.
Using Zoom Video within your course
-
Zoom Video Channels
Zoom video management uses channels to limit access and statistic collection to active course participants. -
Add a Zoom Video resource to your course
The Zoom Video resource provides an easy way to embed Zoom video right within your course. -
Add a Zoom Video within course content
You can add Zoom Video to your course by using the Zoom Video button with the Atto or TinyMCE text editors.
Zoom Video Channels
When a Zoom video is added to your course, a course video channel will automatically be created on Zoom. Videos uploaded by the course owner and others with a collaborator role (others in the course with the teaching or course editing role), will be added to the course video channel. The permissions that allow active participants in the class to view videos on the course channel will sync three times a day.
For more timely concerns, a link to Zoom Channel Sync Permissions can be found under the More menu within the course. Selecting this link will update the permissions in the course Zoom channel based on the roles and users within the course participants list. If someone has just been added to the course, you can use this link to immediately update their permissions with the course Zoom channel.
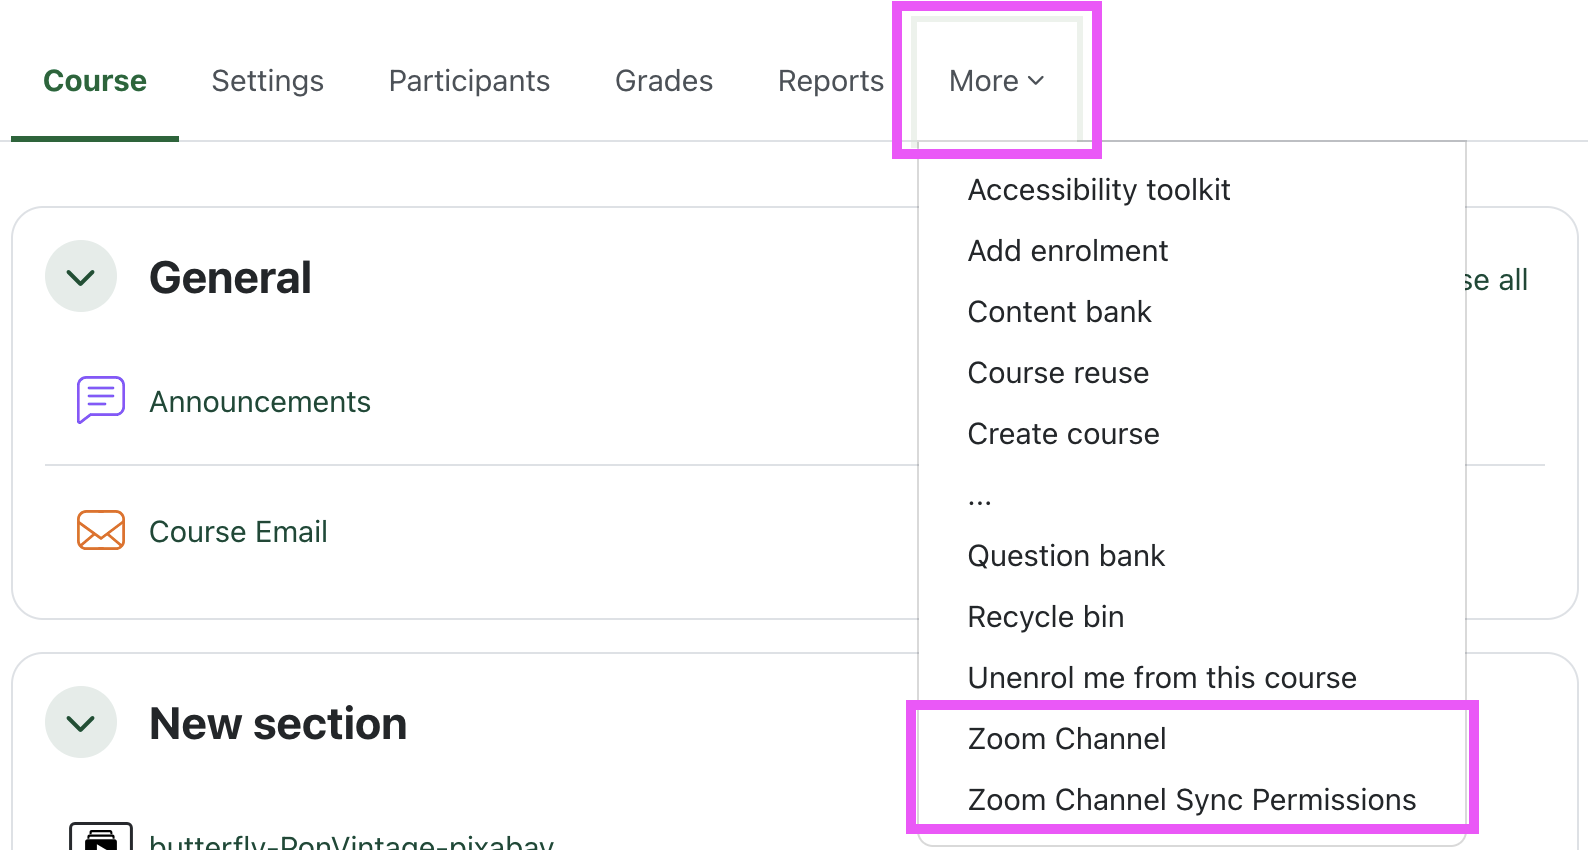
A link to the Zoom channel currently associated with the course is also available under the More menu within the course. Following this link will open the course Zoom channel within the Zoom web portal.
The Zoom channel links will not appear under the More menu in courses that do not have an associated Zoom channel.
You can also publish and unpublish a Zoom channel in order to further control access.
All channels are initially unpublished and must be published for students to be able to view the videos associated with the channel.

View of the Publish button on an unpublished channel in the Zoom App or Web Portal

View of a published channel in the Zoom App or Web Portal
To view the permissions in place for a Zoom channel in the Zoom app or on the Zoom web portal, navigate to the course channel and select Manage permissions.

View of the Zoom channel in the App or Web Portal
The first tab of the Manage Permissions modal lists the owner and Channel collaborators associated with the channel. Users listed here are added when the course synchronization task runs.
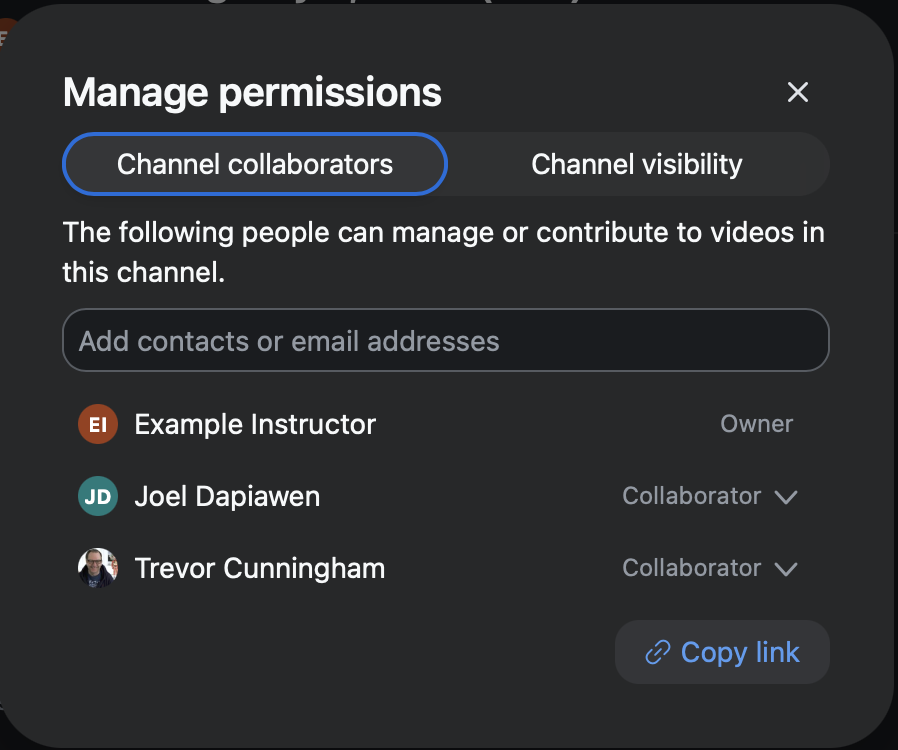
View of the Manage permissions interface in the Zoom App or Web Portal
The second tab of the Manage Permissions modal shows the Channel visibility. Users listed here are also added when the course synchronization task runs. The recommended setting for a course video channel under General access is Only people with access.

View of the Manage permissions interface in the Zoom App or Web Portal
Use the menu located under the ellipses in the course channel header to Edit basic information, manage Player settings, access the Channel analytics, or Delete the channel.
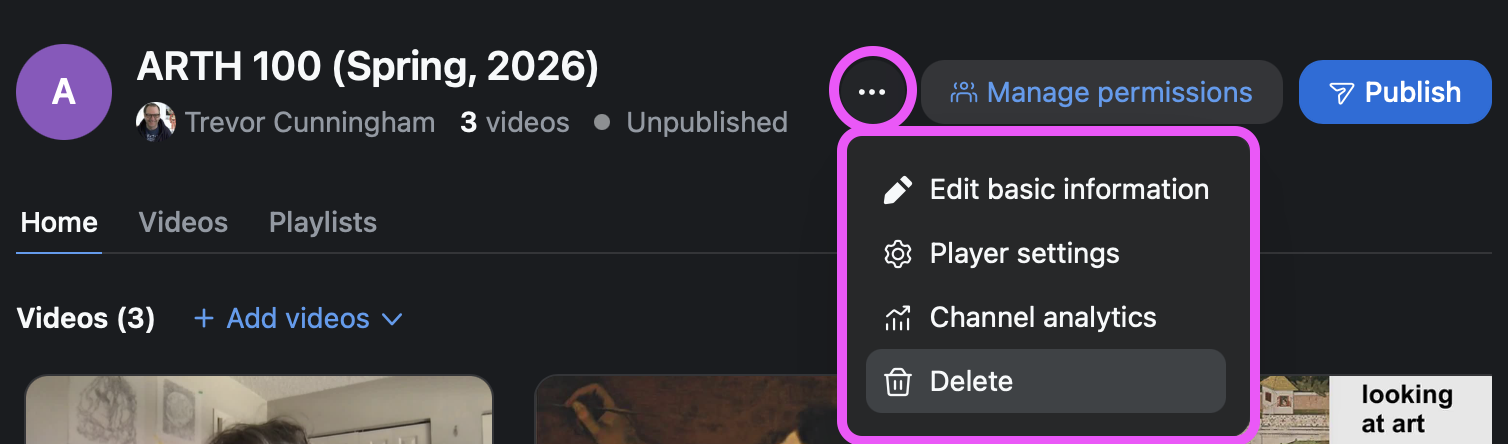
View of the course channel header in the Zoom App or Web Portal
You can adjust the options available for the player used by all videos associated with the course channel under the Player settings option.
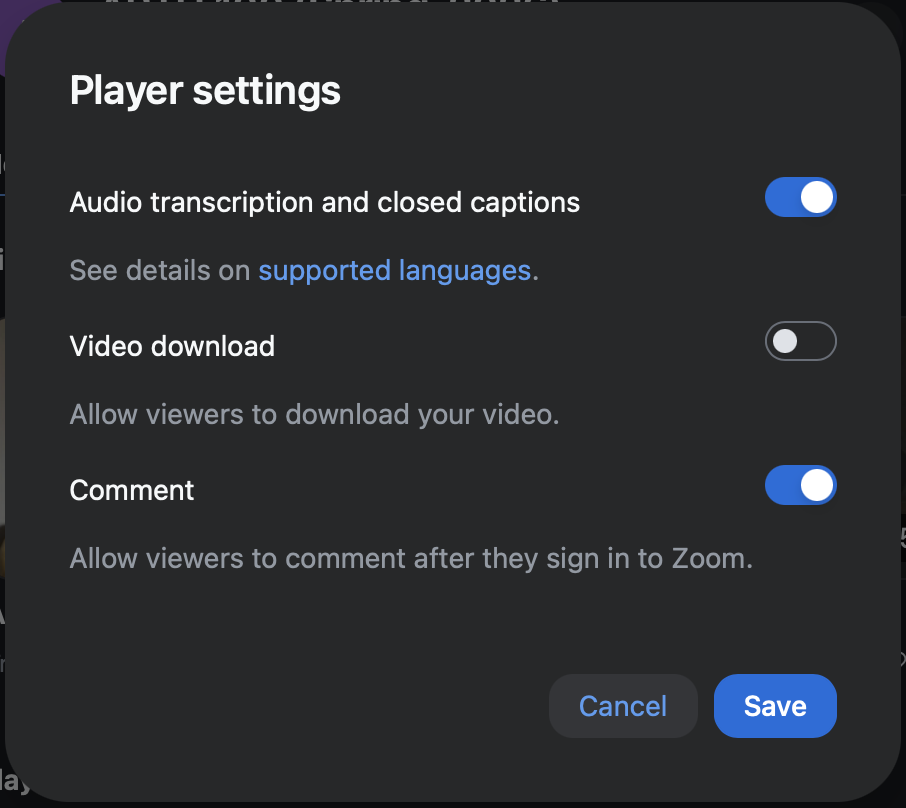
View of the channel player settings menu in the Zoom App or Web Portal
Add a Zoom Video resource
Add the Zoom Video resource to your course to embed video hosted on Zoom. Zoom video uses a course video channel to synchronize viewing permissions with the course participants. This also allows you to see analytic reports for the viewing activity within the context of your course.
NOTE: To use the Zoom Video resource within UR Courses, you will need an @uregina.ca Zoom account. If an account hasn't been created for you already, you can create your account by visiting https://uregina-ca.zoom.us/signup.
To add a Zoom Video resource to your course, follow the steps below.
- Go to the course you want to add the Zoom Video resource to and turn on Edit Mode.

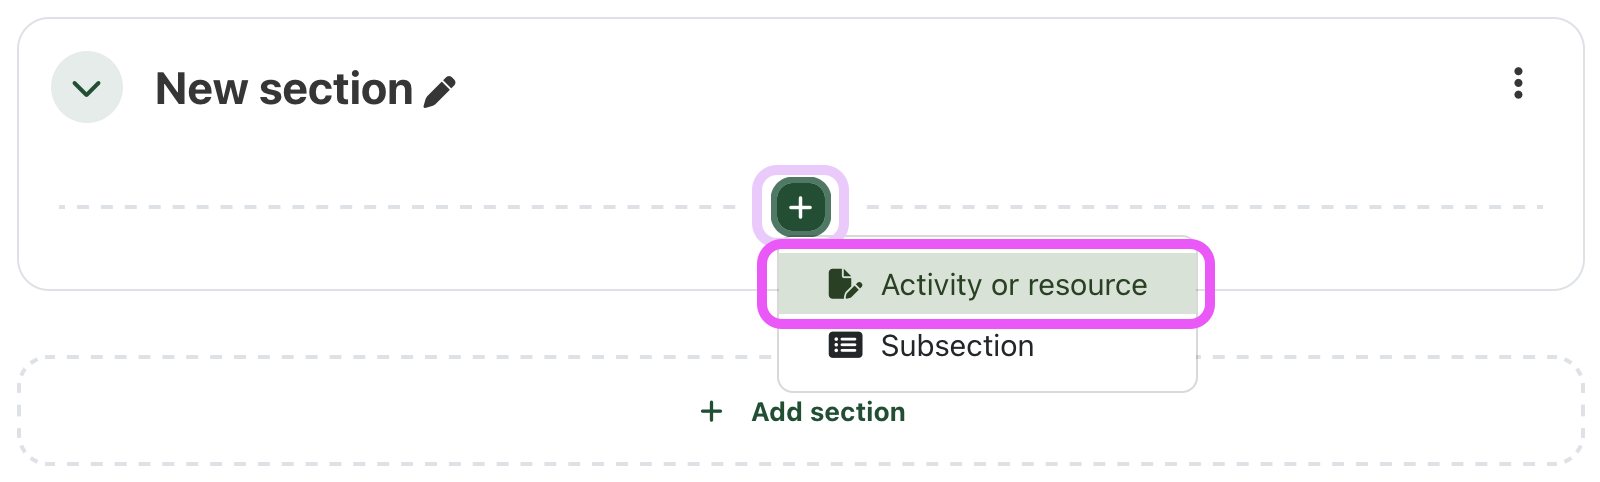
- Click Add an activity or resource within the course section where you would like to link to the Zoom video resource.
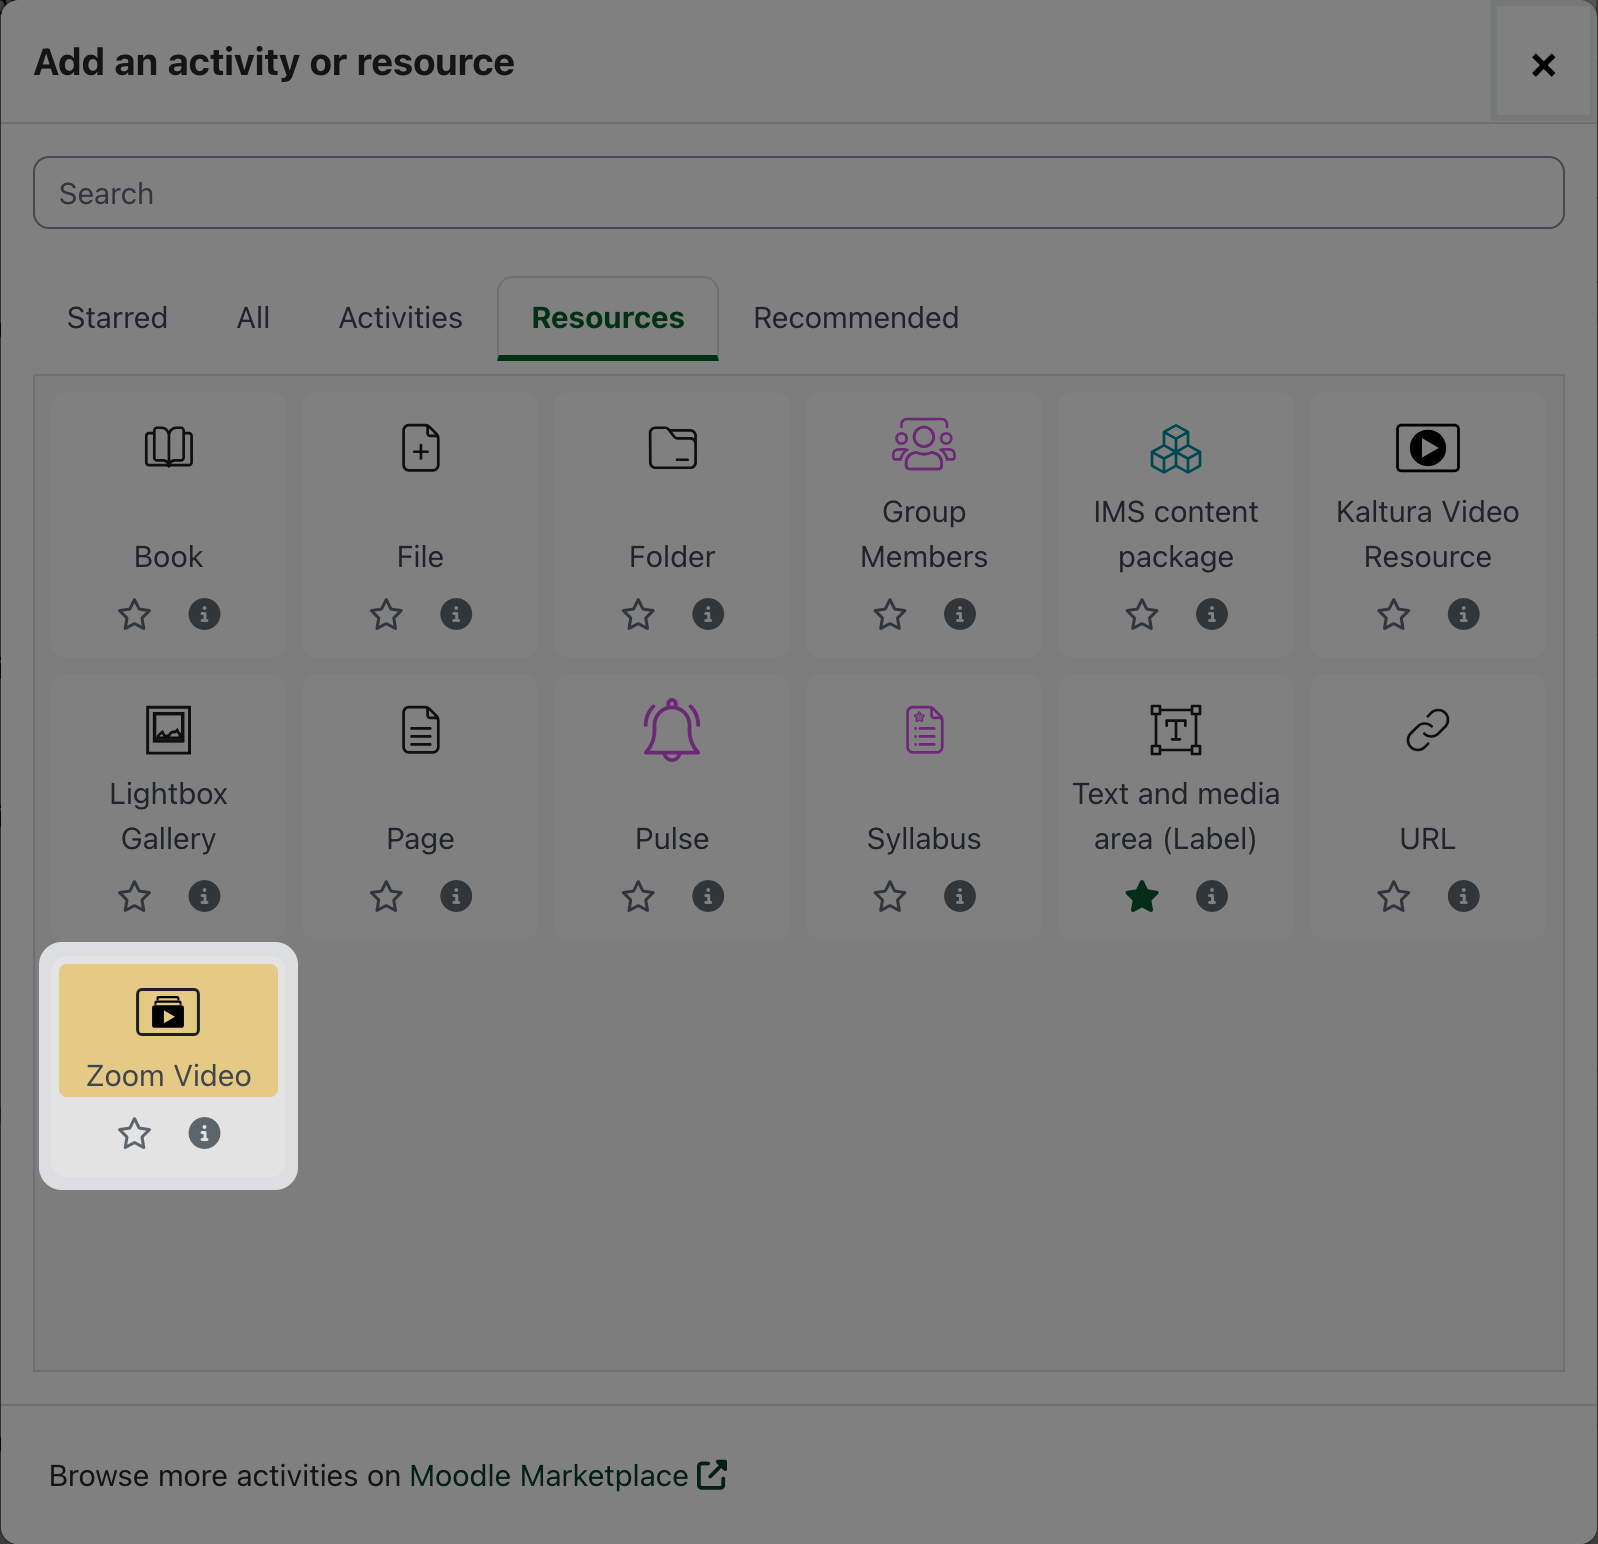
- Select Zoom video from the Resources tab.
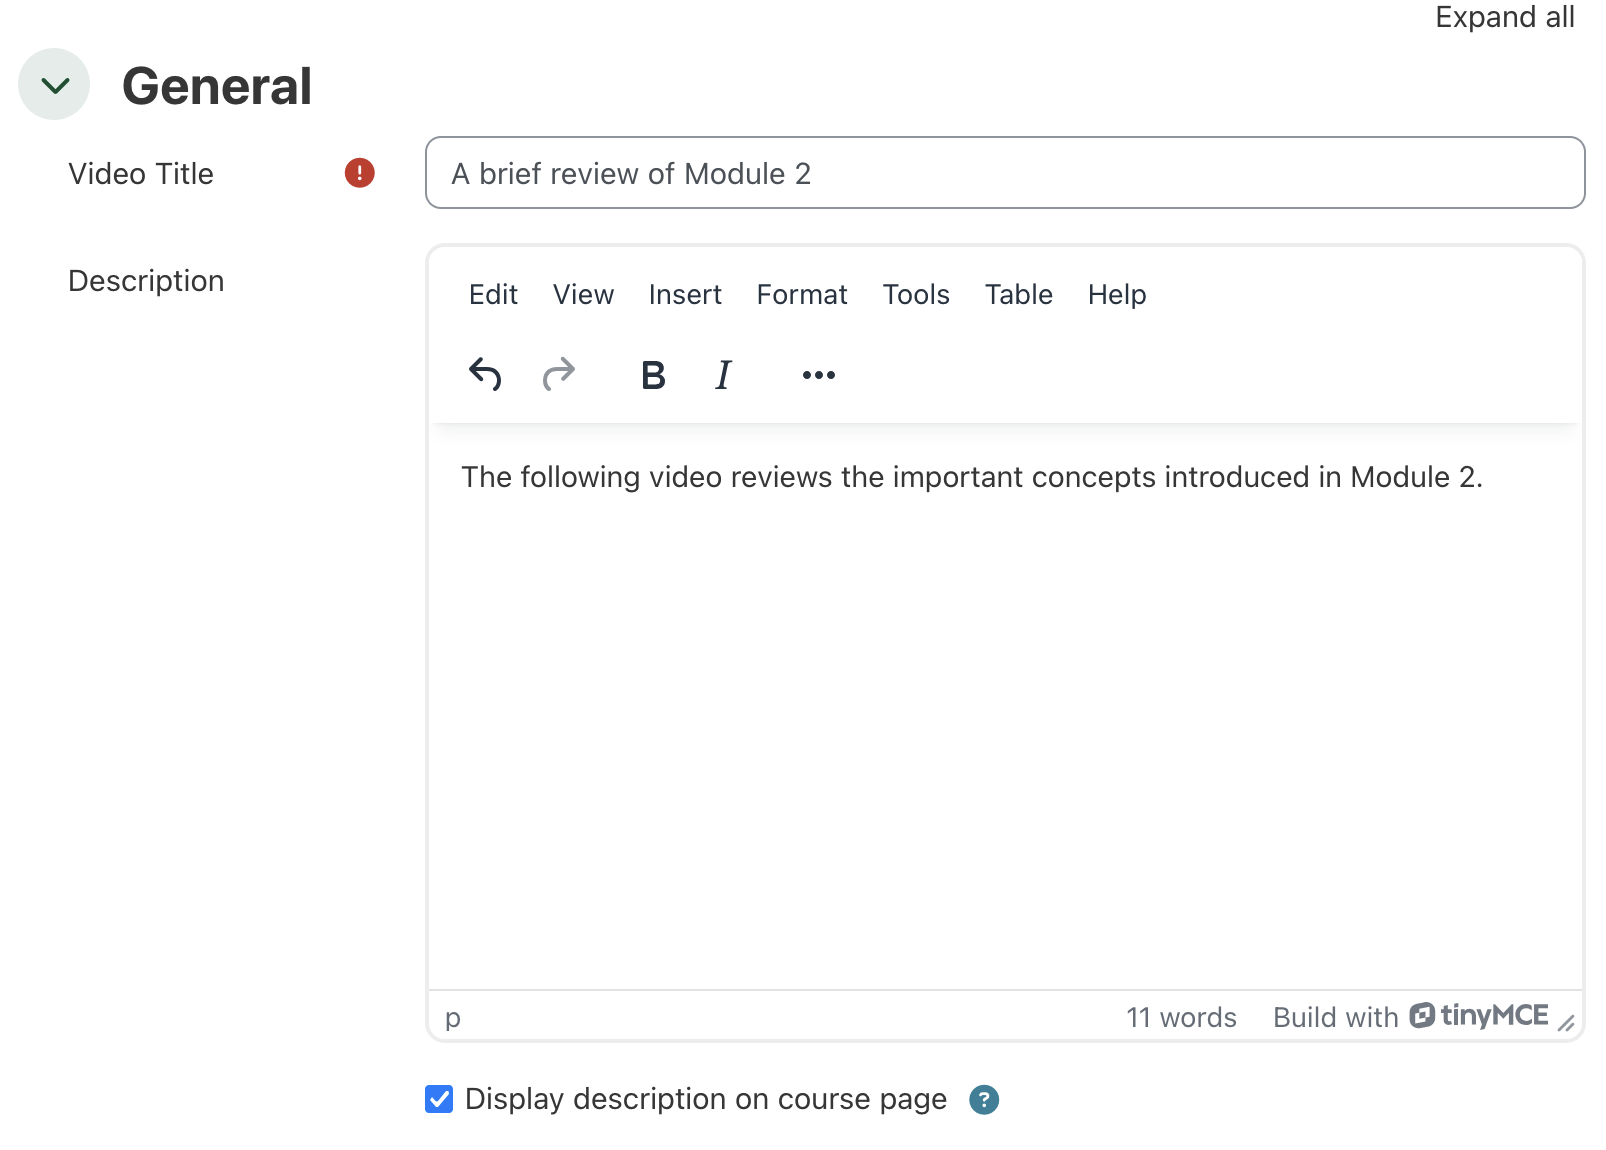
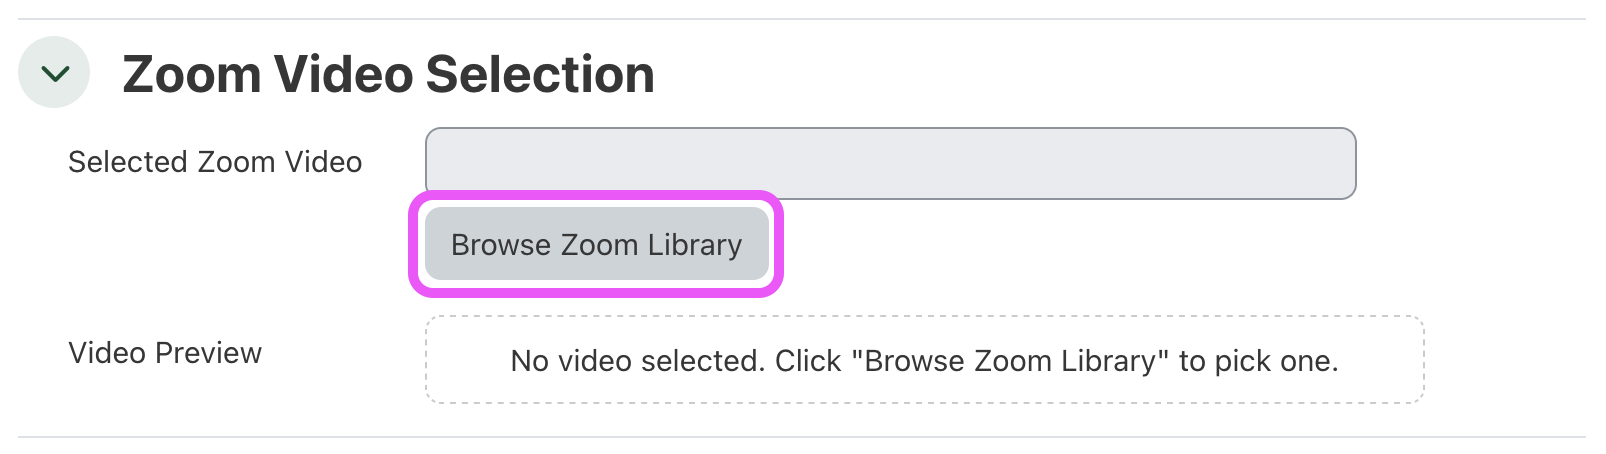
- In the General section of the Zoom video settings page, you can provide an alternate title for the video resource. If you leave this blank, the title of the selected video will appear here. Add a brief description to help orient students and set expectations.
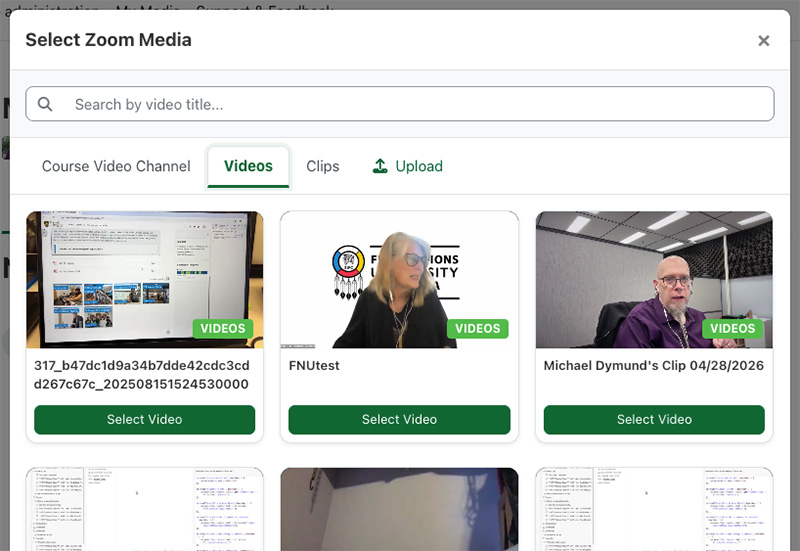
- In the Zoom video selection section, click the Browse Zoom Library button to select a video.
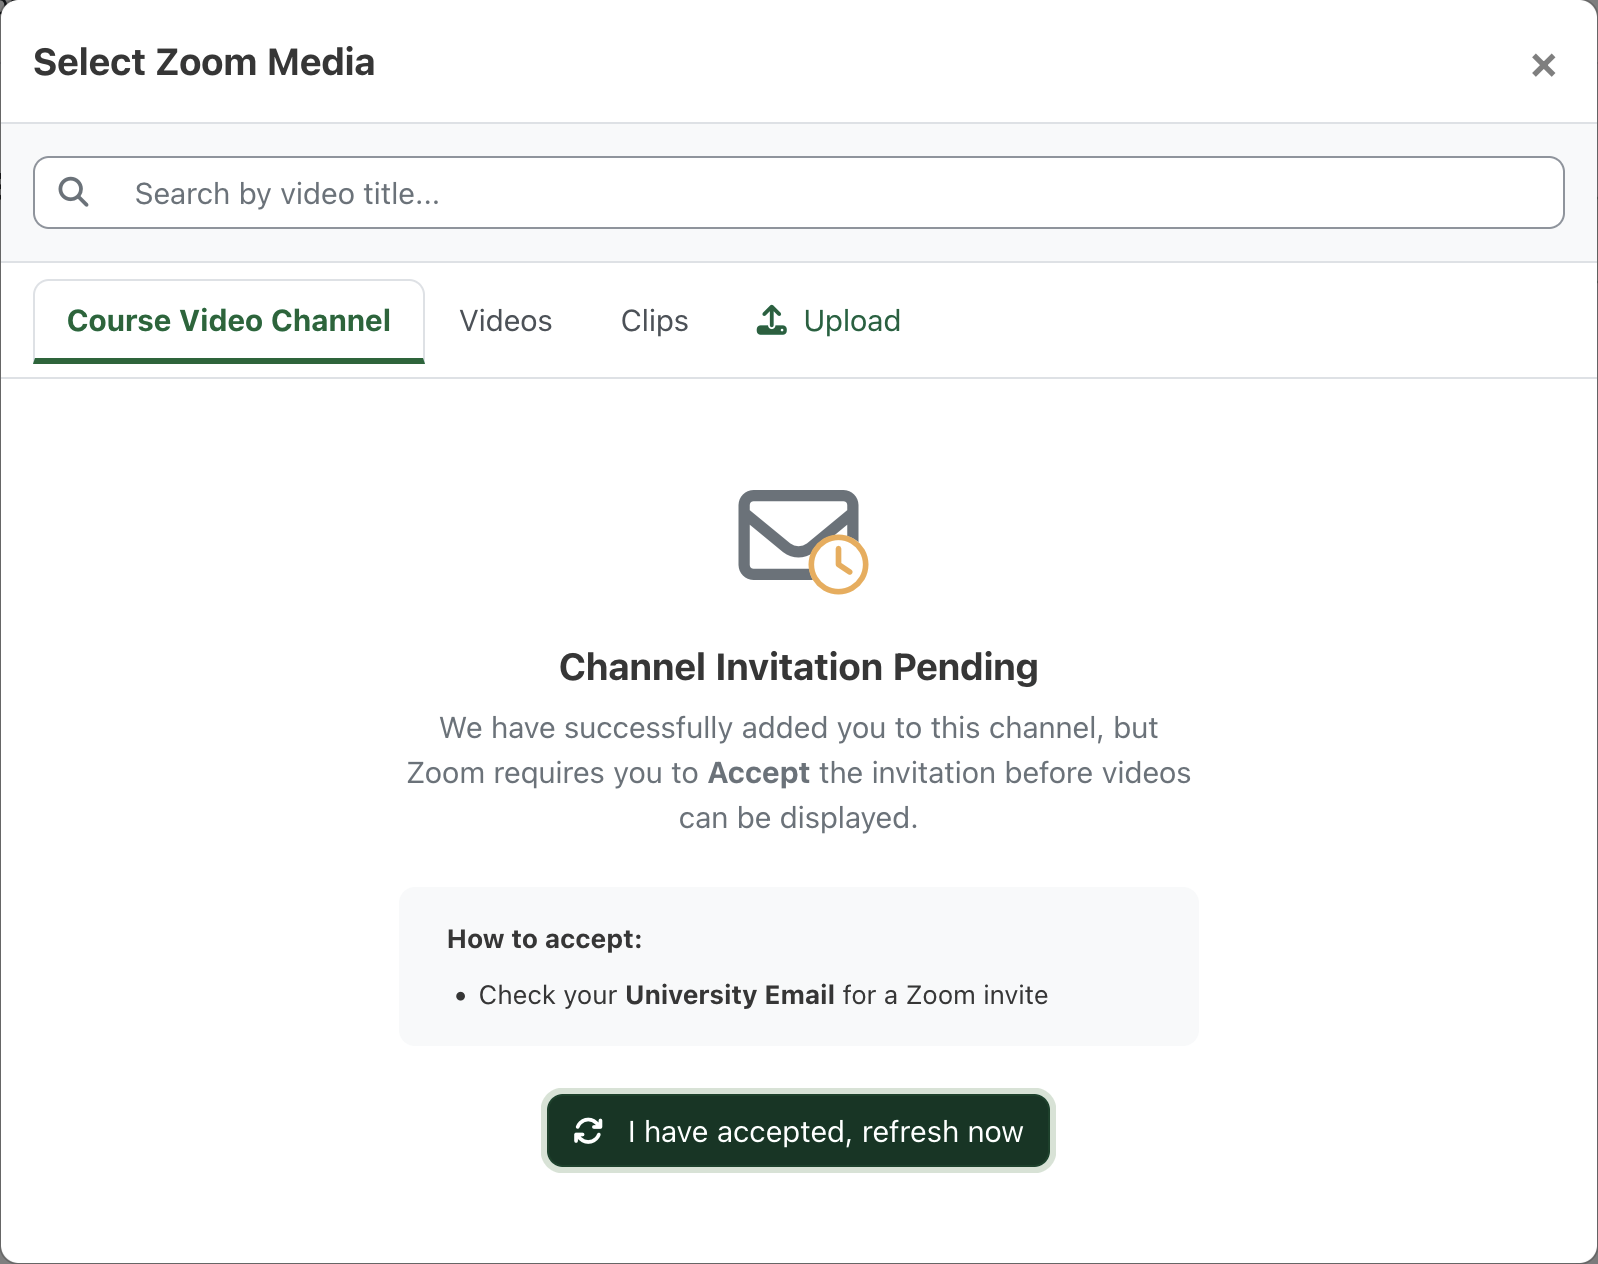
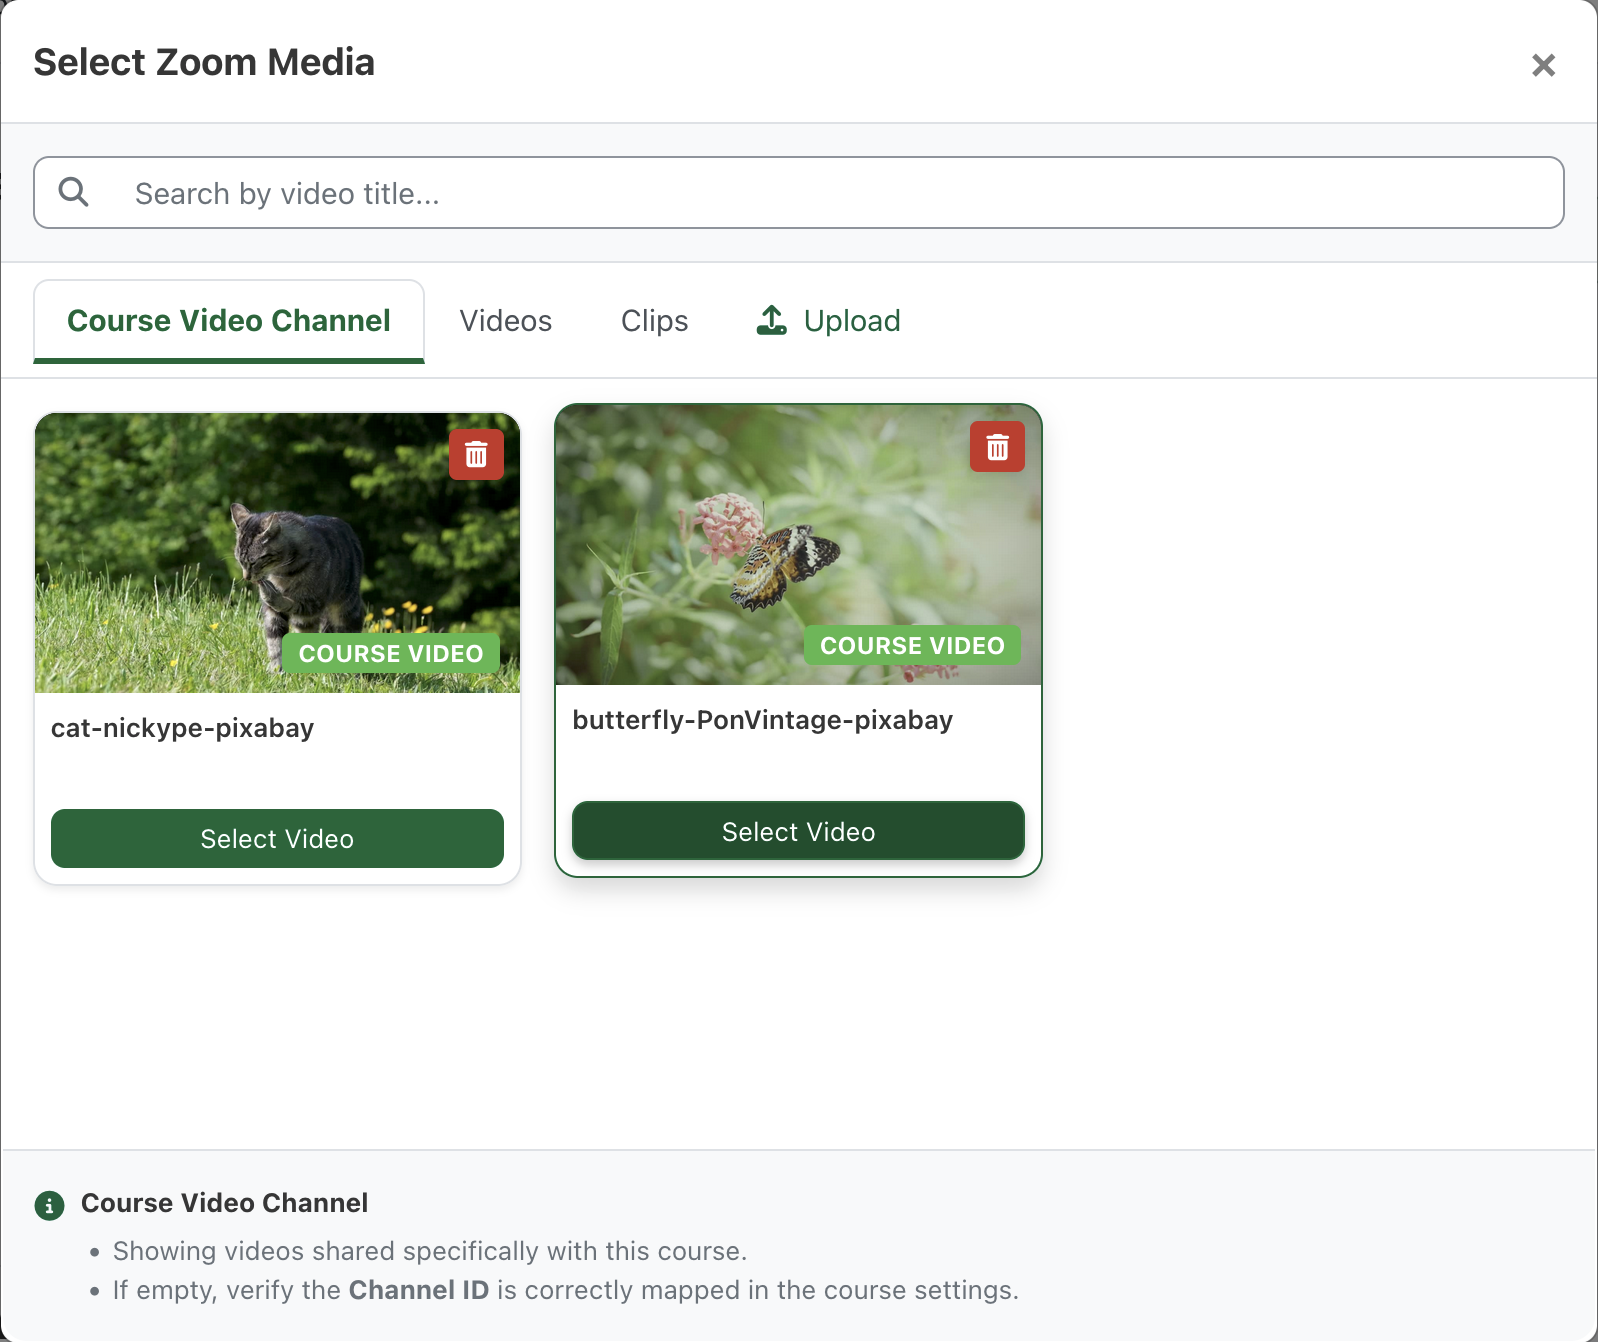
- The default tab in the Zoom Video picker is the Course Video Channel. This area displays all of the videos that have been associated with the current course. If you have not yet been assigned to the course video channel, check your @uregina.ca email to accept and join the channel.
- The Videos tab lists all of your videos that have been associated with a course channel. The Clips tab will display all of the video in your Clips library. The Upload tab allows you to add a new video to Zoom clips from within the course.
-
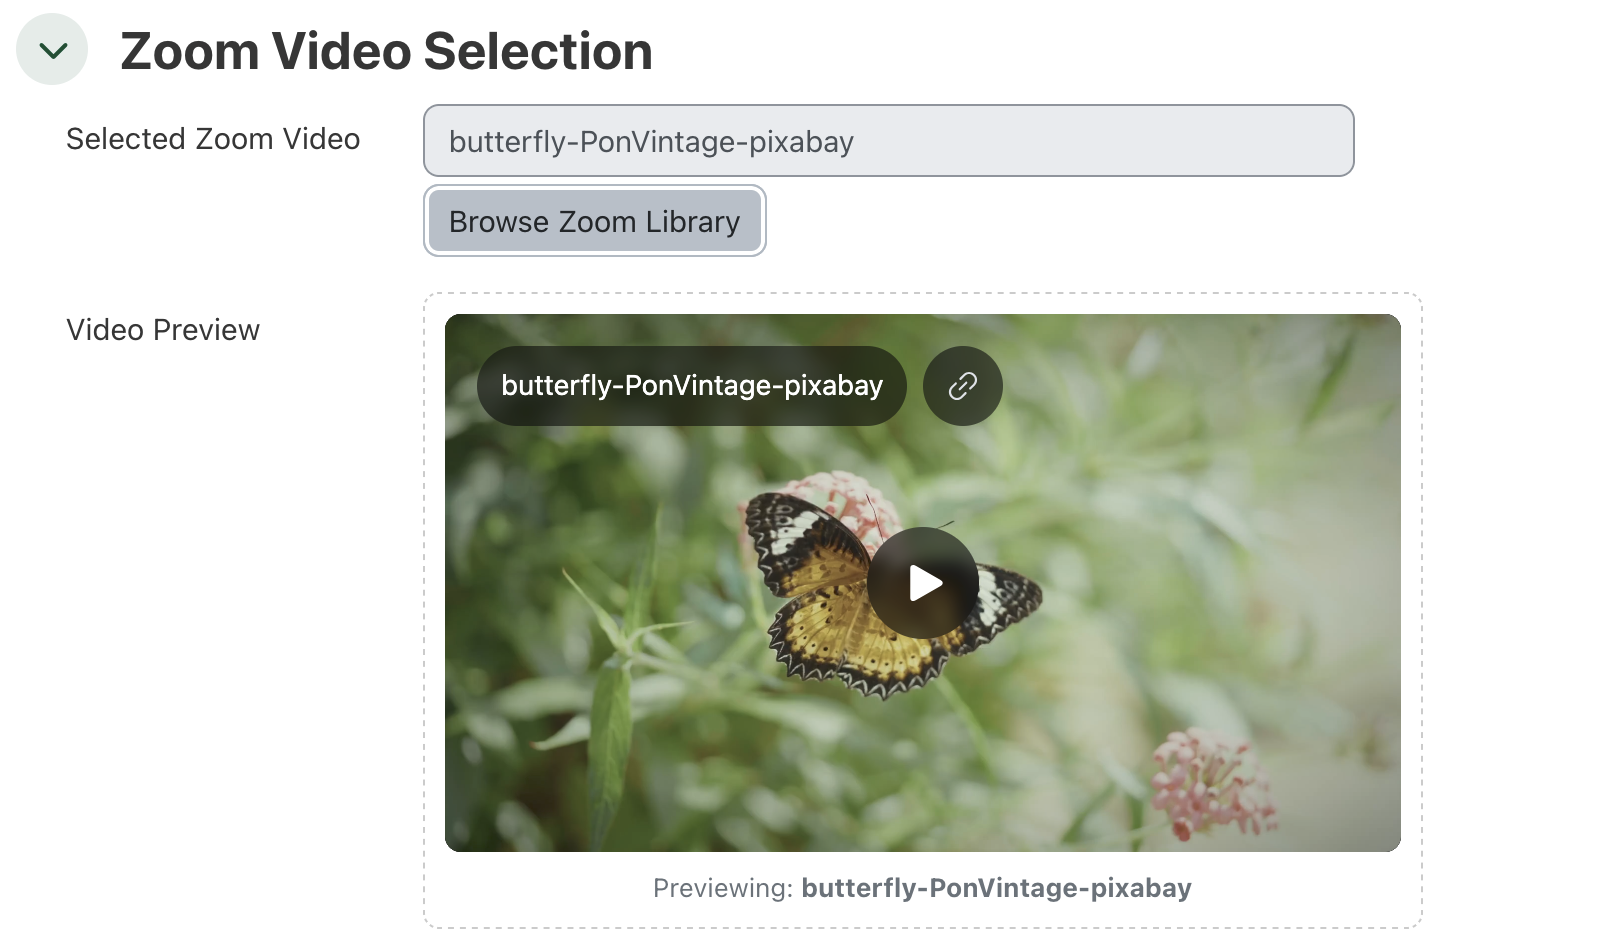
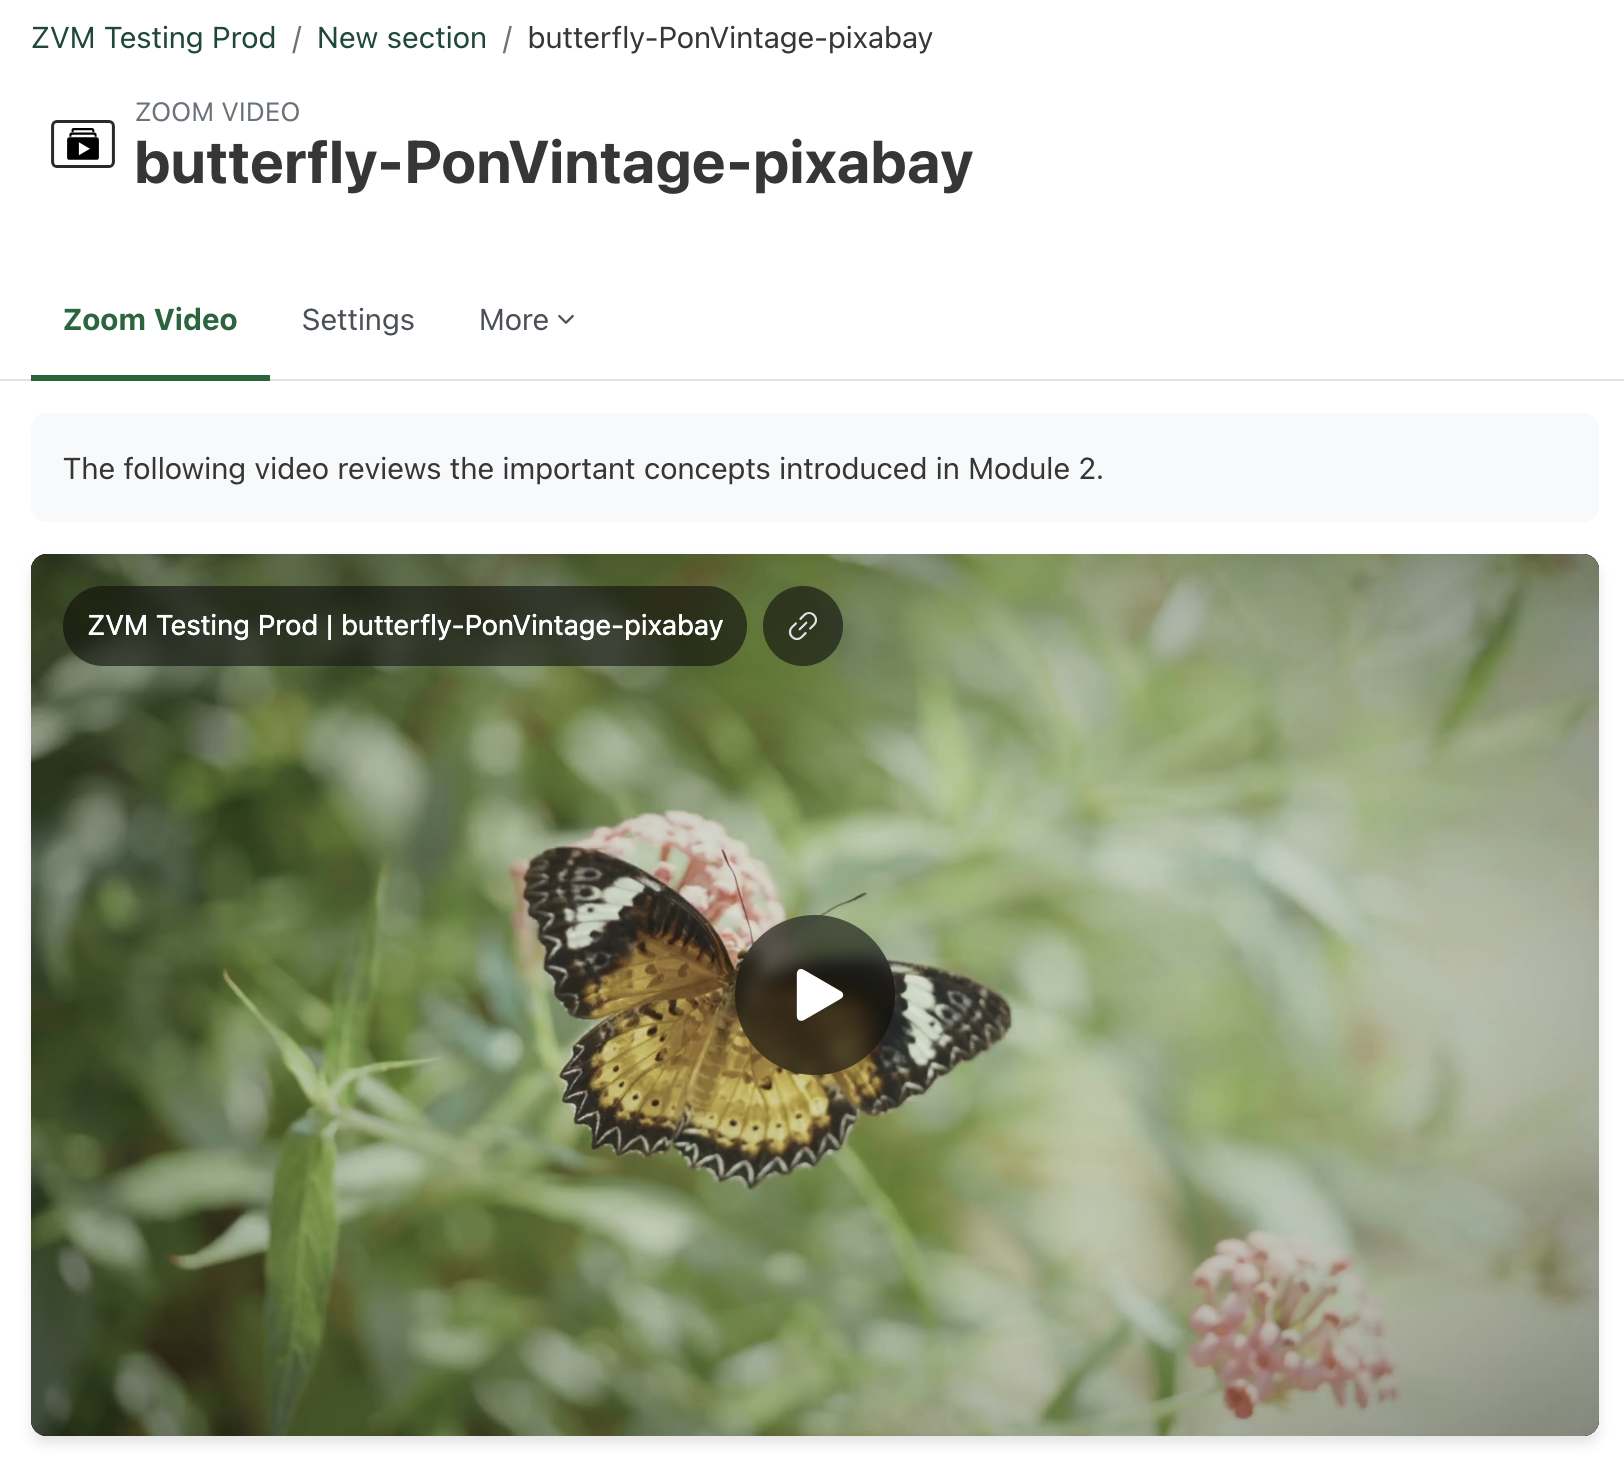
Once the video has been selected, you will see a preview.
-
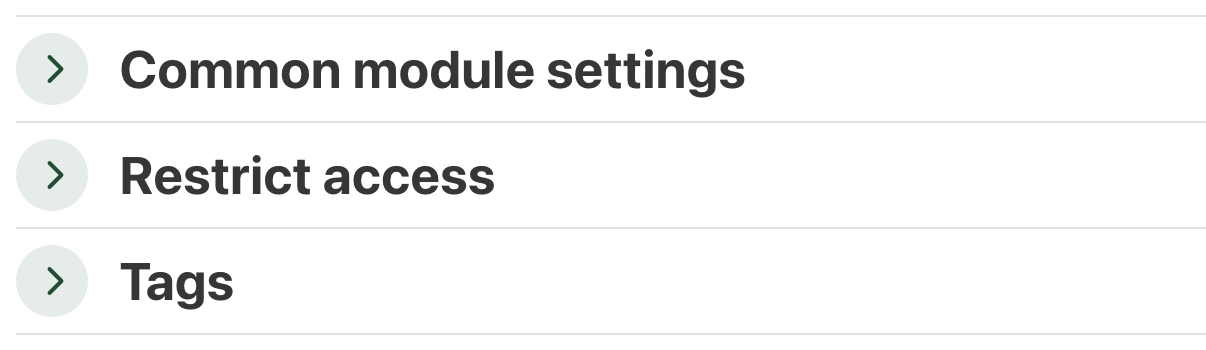
Complete any changes you would like to see in the Common module settings, Restrict access, or Tags sections. These settings are generally available on all activities and resources.
- Finally, click Save and display to view the new Zoom video resource, or click Save and return to course to continue working on the course or section.

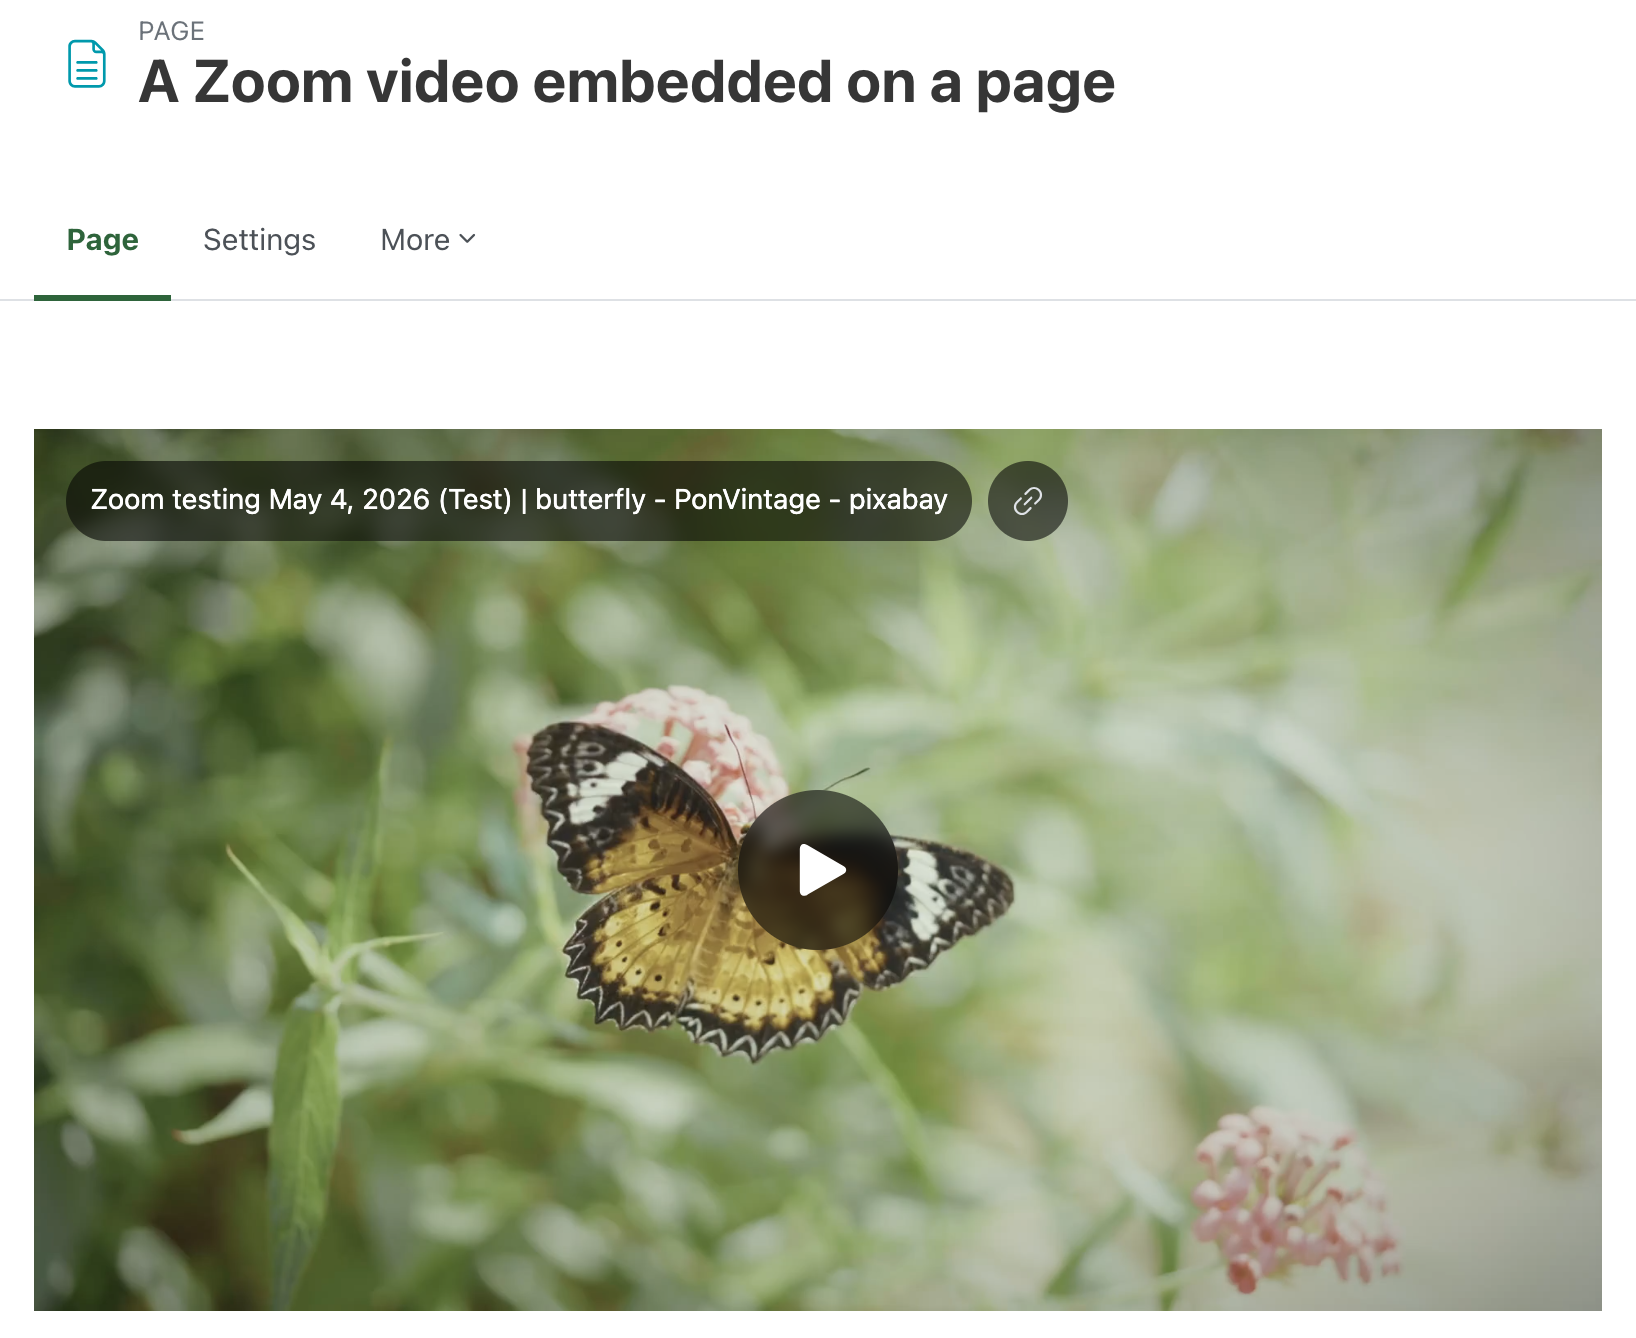
- The new Zoom Video resource is a great way to showcase a video within the course.
Add a Zoom Video within course content
You can embed Zoom Video within course content anywhere you have access to the editor in UR Courses. It is recommended to only have one video embed per page, and avoid embedding video on the course main page itself, (the video has to be loaded with each visit to the course, rather than just when the video is actually being viewed).
Viewing and collaboration permissions for Zoom Video are controlled through Channels. Each course is assigned a channel once any Zoom Video is associated with the course. The Channel helps control permissions based on the course enrolment, and records viewing analytics specific to the course.
To embed a Zoom Video within course content, follow the steps outlined below.
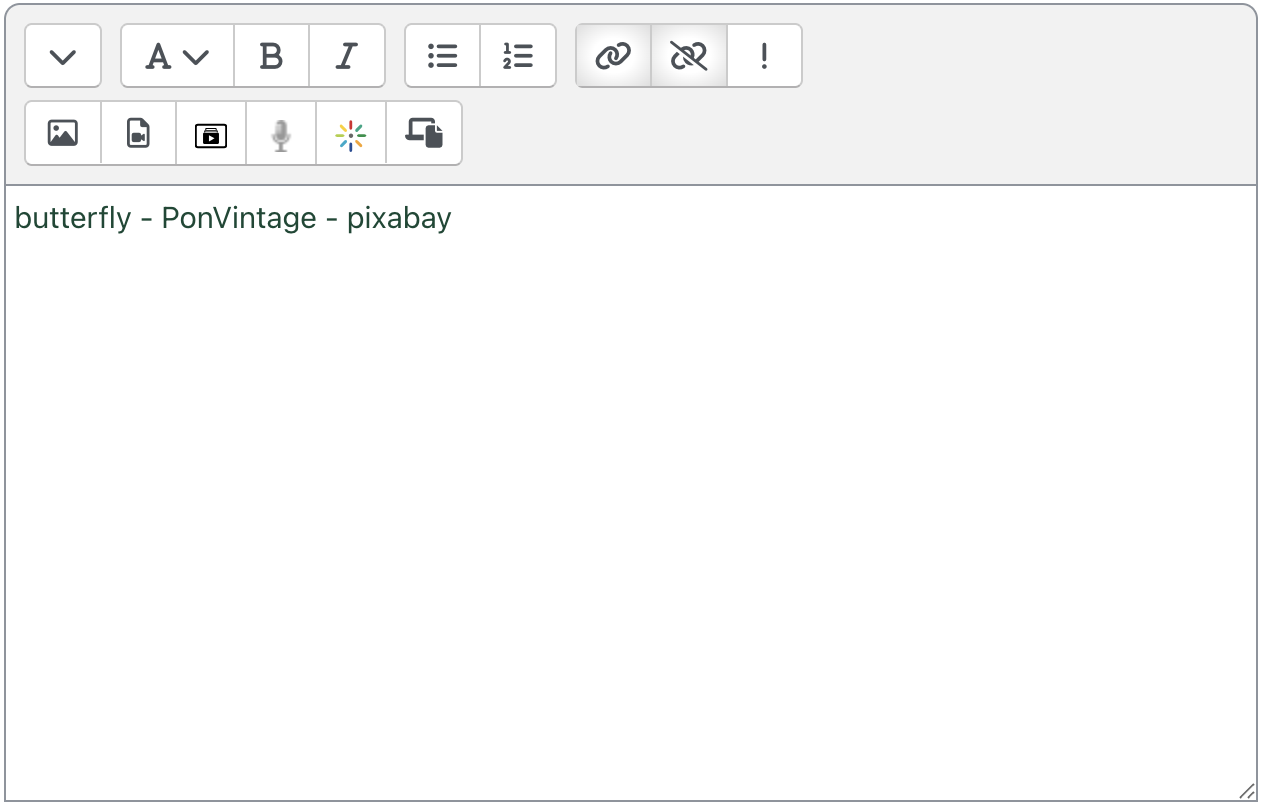
- When editing content using either the default Atto editor or TinyMCE, locate the Zoom Video icon as pictured below.

Zoom Video button in the Atto editor
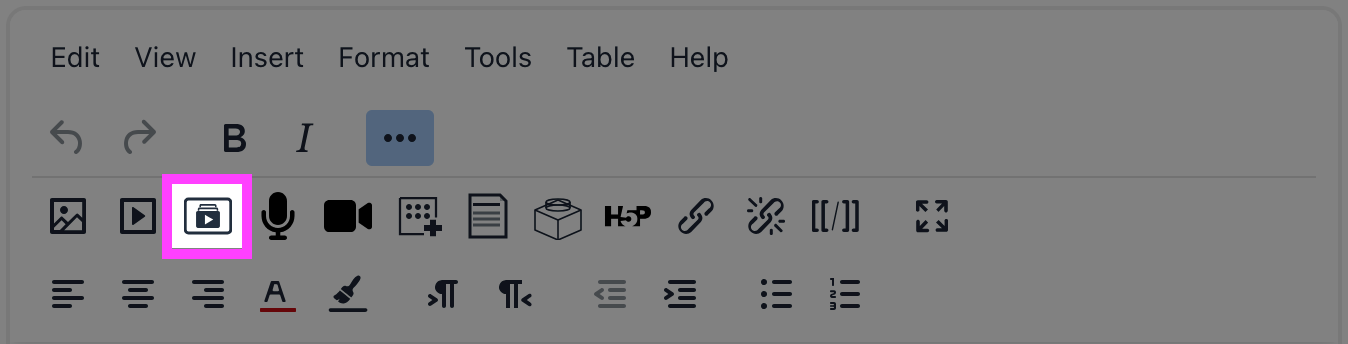
Zoom Video button in the TinyMCE editor
-
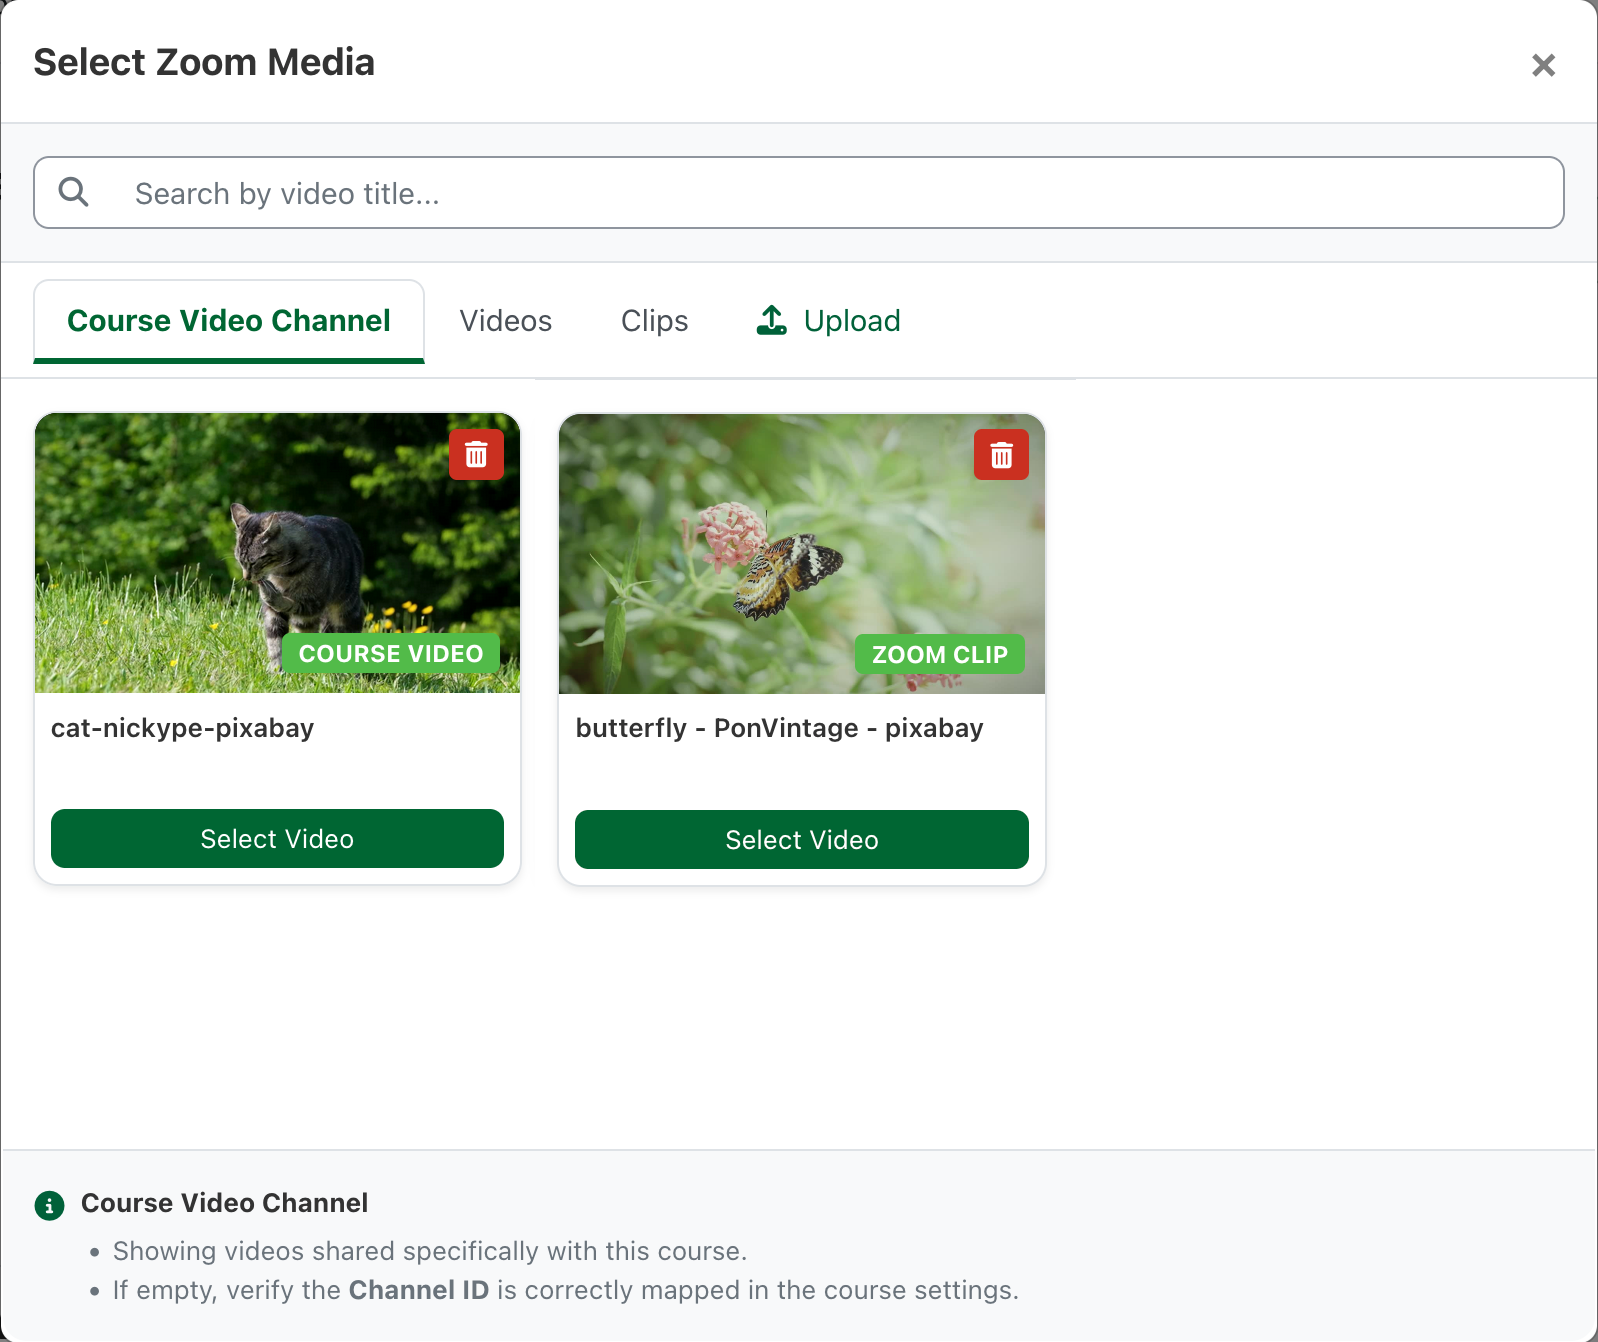
Clicking on the Zoom Video icon will open the video selection modal.
The default tab in the Zoom Video picker is the Course Video Channel. This area displays all of the videos that have been associated with the course. If you have not yet been assigned to the course video channel, check your @uregina.ca email to accept and join the channel.
- The Videos tab lists all of your videos that have been associated with a course channel. The Clips tab will display all of the video in your Clips library. The Upload tab allows you to add a new video to your Zoom Clips library.
- Click on Select Video to insert the video.
- A link to the video will be inserted into the course content.
- Finally, click Save and display to save the content.

-
The video link should become an embedded video player when the Multimedia plugins filter is enabled for the course.
The Multimedia plugins filter is enabled for all courses by default. If the link is not being transformed into a player, check the Filter settings for the course, activity, or resource where the video link appears.
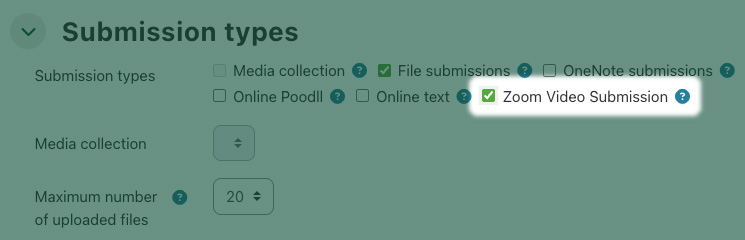
Zoom Video Submission
UR Courses now includes a new Zoom video submission option for the regular Assignment activity. When this option is enabled, students can select and submit a Clip from their Zoom library. A copy of the selected Clip is then downloaded by the server and saved within UR Courses.
Students will not have to download the clip in order to submit it. UR Courses will download the copy as part of the submission process.
Other file types are also allowed as part of this submission. In this way it is possible for students to upload documents in addition to their Zoom video.
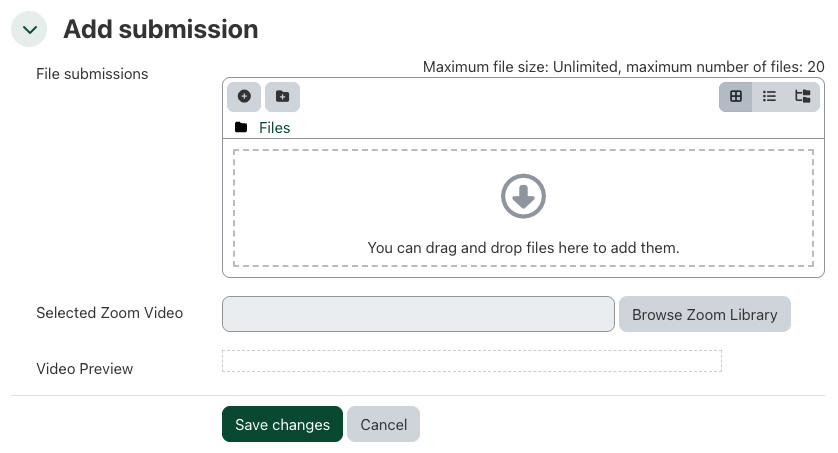
Clicking Browse Zoom Library opens the Select Zoom Video window (as above), allowing the student to select the appropriate video for submission.

The form will update to include a preview of the video. When the student clicks Save changes the Zoom video is uploaded to UR Courses and the submission is complete.